Changing a ceiling fan light bulb might seem tricky, but it’s usually straightforward once you know the right steps.
The key is turning off the power properly to avoid shocks and choosing the right bulb for your fixture.
With just a few simple precautions, you can replace that burned-out bulb safely and quickly.
Keep reading to see how to do it right.
Safety First: Turn Off Power Before Starting
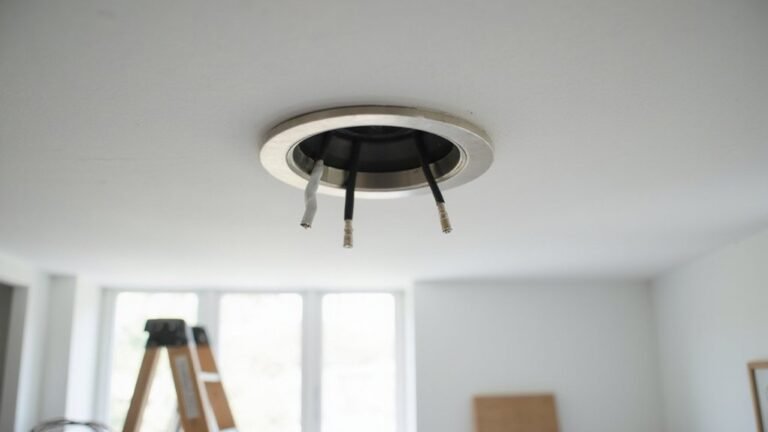
Turn off power at the circuit breaker or fuse box before beginning. Never rely solely on the wall switch to cut power; you achieve true safety only by disconnecting the circuit at its source. Use a non-contact voltage tester to verify the fixture is completely de-energized before touching any components. Switching the wall control to off adds an extra layer of safety, but it should never be considered sufficient on its own. Overhead fixtures, such as ceiling fans or mounted lights, pose serious shock hazards; contact with energized parts can cause injury. Always confirm no residual current remains with your tester before reaching into the light kit. If you cannot fully isolate the circuit, do not proceed—call a licensed electrician. Ensuring the circuit is truly de-energized is essential for your safety. For additional context, note that understanding fan direction settings helps confirm you are working on a unit that is properly configured for the current season. Proper electrical box choice is crucial for safety, load support, and code compliance, so verify the box is rated for the fixture’s weight before proceeding. A clean DIY finish requires careful attention to grounding and wire connections as outlined in the safe wiring tips for ceiling fans. Using push-in connectors can simplify reconnecting wires in the light kit if the original wire nuts are damaged.
How to Remove the Ceiling Fan Light Cover
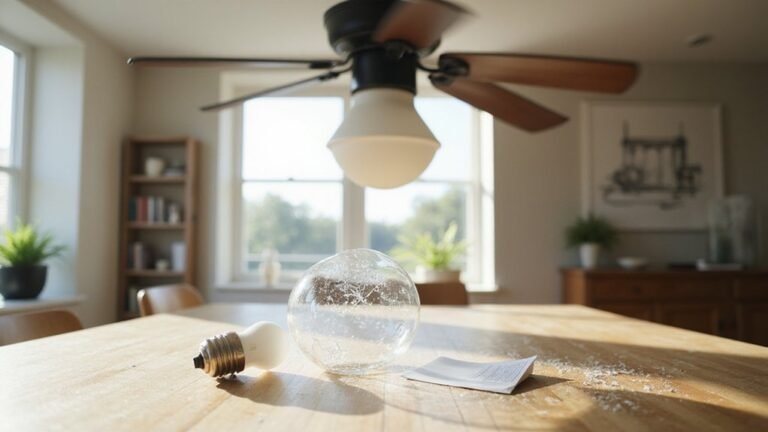
To remove the ceiling fan light cover, start by identifying the type of cover you’re dealing with: twist-on domes, screw-secured covers, or clip-retained shades. For twist-on domes, grasp the glass and turn it counterclockwise while supporting it steadily. You may also find a decorative center nut that, when released, removes the dome. Screw-secured covers need you to loosen each screw with a screwdriver before carefully lowering the cover. For clip-retained shades, gently lift or push each clip outward to free the shade. To improve your grip, wipe away dust beforehand; using rubber gloves or a damp palm can help prevent slipping. If the cover is stubborn, tap the rim gently with a rubber mallet in a counterclockwise direction. Always wear eye protection that encloses the eyes fully to guard against shattered glass if the diffuser breaks. Lower the cover slowly onto a soft surface to avoid breakage. This is also a good opportunity to clean the cover before reinstalling and to keep screws in a safe place for easy reassembly. To avoid confusion during reassembly, note that low profile recessed can lights use a completely different mounting and trim mechanism. Some smart plugs include energy monitoring features that track power usage in real time. For your own DIY LED strip light project, consider using a diffuser channel to evenly distribute light and protect the strips from dust.
Choose the Correct Replacement Bulb
Once you’ve removed the light cover, select a bulb that fits your fan’s socket and stays within its wattage limit. Look at the original bulb’s base—common types include E26 (standard medium) and E12 (candelabra)—to ensure compatibility with the fixture. Never go beyond the socket’s maximum wattage rating; it’s a safety guideline, not a target. LED bulbs are highly recommended because they use significantly less power—around 6W to 9W for a 60W equivalent—and generate less heat, which helps protect enclosed fixtures. To compare brightness, focus on lumens rather than watts; 600 to 800 lumens typically provide good general room lighting. For color, choose warm white (2700K to 3000K) for cozy spaces or cooler tones for task lighting. If your fan includes a dimmer switch, opt for a dimmable LED bulb to prevent flickering. If your ceiling fan has an enclosed light kit, recessed can lights share similar installation precautions for managing heat buildup. For optimal safety, always verify the fixture’s wiring compatibility before installation. If you are replacing a bulb in a sconce-style fan light, consider a candle holder shape for a better fit.
Install the New Bulb and Reattach the Cover
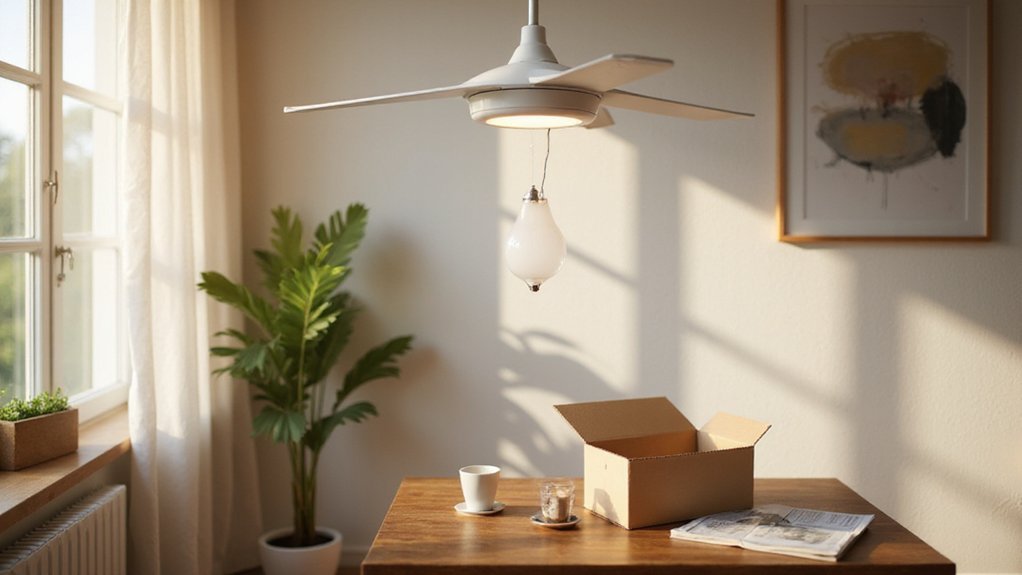
To install the new bulb and reattach the cover, start by ensuring you have the correct replacement bulb that matches your fan’s light kit specifications. Carefully screw the bulb straight into the socket, turning by hand until it feels snug; avoid cross-threading to prevent damage. Wipe the glass with a clean cloth to remove fingerprints or debris, which can cause residue buildup. Install all bulbs before moving on to the cover. For the most consistent illumination, consider that achieving balanced lighting often requires careful attention to spacing and uniform placement, as covered in typical recessed can lighting layout tips. A fan using a downrod provides the adequate clearance needed to ensure such lighting is effective and unobstructed.
Align the cover with its mounting points or threaded collar, supporting it with one hand while securing it with the other. Use the original screws, finial, or retaining ring as needed. Tighten the fasteners firmly but avoid over-tightening, which could crack the glass or warp the plastic. Check that the cover sits evenly and is secure without wobbling, since vibrations over time can loosen hardware. Before securing the cover, confirm the fan includes multiple light bulbs for increased lighting, as this ensures balanced illumination and reduces the need for frequent replacements. To prevent electrical hazards, always disconnect the power at the circuit breaker before handling any wiring, as safe wiring practices are essential when working with fixtures that draw from the same household circuit.
Turn Power Back On and Test the Light
After securing the cover and ensuring the new bulb is properly installed, restore power at the breaker. Flip the corresponding circuit breaker back to the ON position. If the breaker had tripped, you can try toggling it OFF first, then ON again to reset it. Once power is restored, turn the wall switch to ON. If your fan has a remote, verify remote control compatibility by checking the receiver and replacing the batteries if needed. Immediately test the light; it should turn on smoothly without flickering. If the light remains off or flickers, turn the power off again to inspect the socket and wiring connections. A flickering or dim bulb usually indicates a loose connection or socket problem rather than a faulty bulb. If the fan does not operate, check for a tripped breaker or a malfunctioning receiver. Consistent brightness and smooth operation confirm that the repair was successful. Use a multimeter set to AC to verify approximately 120V AC at the quick disconnect to rule out a power delivery issue. If the light fails to respond, treat the situation like a reset failure and carefully follow the exact reset or pairing steps for the specific bulb model before repeating power tests. For safe wiring, always ensure wiring connections are tight and properly insulated. For best results, consider how uplighting principles affect brightness and shadow distribution when selecting replacement bulbs.