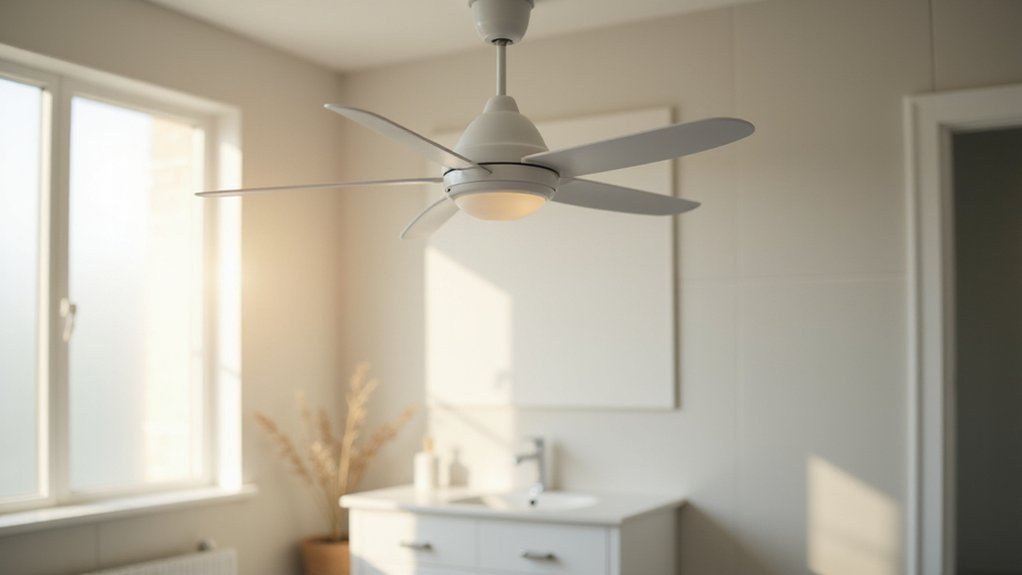
If your bathroom ceiling fan is making loud noises or just isn’t working right, replacing it might be the best fix. Doing it yourself can save money and help you get a quieter, more efficient fan installed.
By the end of this guide, you’ll know how to safely remove your old fan and install a new one with confidence.
Is It Time to Replace Your Bathroom Exhaust Fan?
You should replace your bathroom exhaust fan if it becomes significantly louder or starts making unusual noises. A sudden increase in noise—such as whining, rattling, or grinding—indicates worn bearings or a failing motor, which cleaning won’t fix. A noisy fan may also be due to loose parts or unbalanced fan blades, which can often be addressed with simple adjustments. You’ll also notice reduced ventilation if a tissue held near the grille barely moves or if the fan begins operating slowly. This poor airflow means moisture isn’t being effectively removed, leading to lingering fog and dampness after showers. Additionally, musty odors or a burning smell signal electrical issues, posing a fire hazard. An exhaust fan’s direction is not adjustable like a ceiling fan direction for seasonal airflow. If these signs appear, particularly with an older unit, replacing the fan is more reliable than repeatedly repairing it. The entire process takes approximately 30 minutes and costs around twenty dollars for parts. Before starting, confirm the new fan’s size matches your existing rough-in opening to avoid drywall modifications. Proper ceiling fan placement ensures the replacement sits centered between joists and at least a few feet from the shower to maximize code compliance and airflow efficiency.
Shut Off the Breaker and Test for Power Before Touching Wires
Shutting off the circuit at the breaker panel before touching any wires is essential for safety. Always turn off the bathroom fan’s designated circuit at the breaker panel before working on it. Since circuit labels can be inaccurate or outdated, do not rely solely on the panel schedule. Once you’ve flipped the breaker, verify that the fan and lights are completely dead. Then, use a non-contact voltage tester to check every wire in the box. This step is crucial to confirm no voltage is present, especially if there’s a risk of mislabeling or a wiring issue. If the tester detects voltage, stop immediately and locate the correct breaker. Turn off all loads on that circuit, including any connected outlets, lights, or high-power appliances like hair dryers. Only once the tester confirms zero power should you proceed with working on the wires. Skipping this step significantly increases the risk of electric shock, making proper testing a must for safe repairs. Use a volt tester pen to determine the power flow position when identifying the power source before shutting off the breaker. For a wiring situation similar to a ceiling fan, you should also ensure you have a step-by-step method for connecting the ground and neutral wires correctly.
Remove the Cover, Grille, and Disconnect the Old Motor
Once the power is off and verified, remove the old motor assembly by first taking off the cover and grille. Gently pull the cover down an inch or two; most grilles are secured with spring clips rather than screws. Squeeze the clip legs together to release them from the housing slots. If a light lens is present, pop it off by squeezing its sides or twisting it counterclockwise. Then, locate the mounting nut or threaded rod holding the motor to the bracket and remove it. This allows the assembly to lower away easily. Avoid wetting electrical parts during this step—simply vacuum loose dust. Inspect and clean the housing thoroughly, and note that plastic or metal housings have identical removal steps for the cover. Before fitting a new unit, check the housing dimensions to ensure compatibility with the replacement fixture. Always follow the removal steps for the housing to avoid damaging clips or brackets. A conversion kit can adapt the existing housing for a pendant fixture rather than a fan.
Disconnect the Duct and Remove the Fan Housing
Disconnect the duct and remove the fan housing by first ensuring electrical safety. Turn off the circuit at the breaker and verify that wiring is dead using a non-contact voltage tester. Slightly rotate the housing to expose the duct connection. Use a utility knife to cut foil tape or loosen clamps to free the flexible duct, taking care not to kink or crush it, as it will be reused. Inspect the detached duct section for tears or worn tape to maintain proper venting during reinstallation. Most of the effort is spent on removing the old fan, often glued or stapled tightly, so patience is essential when wrestling the housing from the opening. Proper uplighting placement can significantly enhance the perceived brightness of the workspace.
Next, disconnect any wire nuts or clamp-style electrical connectors linking the fan housing wiring to the ceiling wiring. These connectors are commonly used for their secure and tool-free installation benefits. Once all connections are free, lower the housing from the ceiling opening—this may require loosening joist attachments or prying flanges. Removing the fan housing at this stage prepares the area for the new unit installation. For proper grounding, always check that the ground wire is securely attached before proceeding.
Check the Ceiling Opening for Your New Bathroom Fan
To ensure your new bathroom fan fits properly, measure the ceiling opening’s length, width, and depth after removing the old housing. Typical openings are around 9 by 9 inches or 10 5/8 by 10 5/8 inches. Compare these measurements to the manufacturer’s template or installation sheet before purchasing. A replacement fan should closely match the existing opening; an oversized cutout will leave visible gaps that the grille cannot hide. If your opening differs significantly from standard sizes, you will need to resize it accordingly. Check the fan’s required cutout dimensions—some specify measurements like 9.4 by 9.4 inches. The ceiling material must support the housing securely without sagging. Make sure the opening does not interfere with hidden wiring or pipes. Achieving the correct fit is crucial, as a loose installation can cause damage or noise issues later. Turning off the power at the circuit breaker is a universal safety step before handling any wiring or fixtures, similar to the removal process for track lighting. Also, verify that the exhaust port aligns with your existing ductwork, which is normally 4 inches in diameter. High-CFM fans may require a 6-inch duct. Avoid sharp duct bends or excessively long runs to optimize airflow and ease of installation. Additionally, just as with recessed can lights, you must secure the junction box properly to prevent the housing from shifting and stressing the wiring connections. Getting this right now prevents rework and ensures efficient operation later.
Wire Your New Bathroom Fan Safely (Match Colors Correctly)
Before touching any wires, shut off the circuit breaker for the bathroom fan and double‑check that power is off using a voltage tester—do not rely solely on the wall switch. Color coding simplifies wiring safety. Start by connecting the ground wire first: join the house’s bare copper or green wire to the fan’s green wire using a wire nut. Next, connect the white neutral wires together. For a single-speed fan, connect the black hot wire from the power supply to the fan’s black wire. If you have a fan/light combo on one switch, connect the incoming black wire to both the fan and light leads, following the manufacturer’s wiring diagram. If controls are separate, use the black and red switched conductors as directed by the instructions. Secure all splices tightly with wire nuts, then gently tug to ensure they are secure. For a clean finish, always strip the correct length of insulation before twisting the wires together. Similarly, when building your own LED light system, carefully matching wire colors is critical for avoiding shorts and ensuring a safe circuit. To further reduce risk, always mount the junction box securely before wiring, just as you would when suspending a pendant from a ceiling joist. Carefully tuck the conductors inside the junction box and replace the cover before restoring power.
Secure the Housing and Reconnect the Ductwork
Once the wires are safely tucked away, secure the fan housing to at least one ceiling joist using screws through its brackets, tabs, or mounting flanges. This prevents sagging over time and helps maintain proper positioning. Ensure the housing sits flush with the finished ceiling, which is essential for the grille to fit correctly. Check that the insulation around the fan box remains intact; proper insulation prevents conditioned air from escaping into the attic, improving ventilation efficiency. Fold down the mounting flanges for a retrofit installation to ensure the housing fits snugly. Using recessed can lights as a guide, verify that the housing is airtight and sealed to prevent unwanted air leakage. For best performance, select a track lighting system that supports linear configurations for optimal airflow alignment. Consider using guide wire lighting techniques to support the ductwork during this process.
Next, connect the exhaust duct to the fan’s connector. Use metal foil tape to seal all joints; avoid cloth tape as it degrades and can cause leaks. Ensure the ducting is not crushed or kinked, since restrictions within the duct reduce airflow. Support the duct along its length to keep it straight and minimize sagging. Keep the duct run as short and direct as possible to maximize ventilation performance and system durability.
Install the Motor, Snap on the Grille, and Reattach Lights
After installing the motor, snap the grille into place by aligning it with the housing slots. Compress the spring arms and push them through the narrow openings. Release the springs to lock the grille flush against the ceiling. Check that no wires are pinched inside, as this can reduce airflow and cause issues. Finger tighten the nuts securing the motor to the housing before using pliers to ensure a snug fit. Choose top pendant lights with durable shades to coordinate the bathroom’s style while ensuring good airflow around the fixture.
Next, reattach the lights by reconnecting the plug or wiring harness. Secure the light assembly following the manufacturer’s specified sequence. Install bulbs or lenses only after the fixture is fastened in place. Ensure the light kit does not interfere with the motor or grille, and verify that the motor spins freely by hand before completing the installation.
Restore Power and Test the Fan for Airflow and Noise
Restore power at the breaker instead of just flicking the wall switch. Turning on the breaker ensures the motor powers up properly. Once the power is restored, flip the switch and confirm the motor starts immediately. Hold a tissue near the grille; if it pulls toward the fan, it indicates strong airflow. Check the exterior vent for air discharge; a stuck damper can limit ventilation efficiency. Listen closely—steady, low humming is normal, but rattling suggests loose parts. If the fan struggles to spin or if you need to tap it to get it moving, motor wear might be the issue. Weak suction at the vent or no airflow indicates a blockage or duct problem, which should be addressed to maintain proper ventilation. Use appropriate lubricant around the fan spindle to reduce noise if the fan produces a buzzing sound but does not spin. A loose connection in the circuit, similar to improper wiring safety in outdoor fixtures, can also cause the motor to hum without spinning.
Common Bathroom Fan Installation Mistakes and How to Fix Them
Even if your bathroom fan tests well, hidden installation mistakes can undermine its long-term effectiveness. The first step is to choose the correct fan size by matching the fan’s CFM (cubic feet per minute) to your bathroom’s square footage. An undersized fan won’t clear moisture efficiently, risking mold growth, while an oversized fan can create imbalance, leading to unnecessary noise and energy waste. Instead of relying on shortcuts like “1 CFM per square foot,” measure your bathroom accurately and select a fan with a CFM rating that matches that size.
Next, ensure your venting is correct. The exhaust must vent directly outside, not into an attic or ceiling space, to prevent moisture buildup and potential damage. Proper duct routing is also critical. Each 90-degree bend in the duct reduces airflow by approximately 30%, so keep the duct as straight and short as possible. Use smooth, rigid ductwork rather than flexible tubing to maximize airflow.
Positioning the fan within 12 to 18 inches of the shower or bathtub ensures it captures moisture at the source before it has a chance to spread. Sealing and insulating around the fan helps prevent air leaks and maintains its efficiency. When installing a new fan, do not forget to reinstall the screw that secures the electrical wires to avoid losing it during preparation. Finally, always connect the fan to a GFCI-protected circuit for safety. Correcting these installation errors will help your bathroom fan operate reliably and efficiently for years to come.