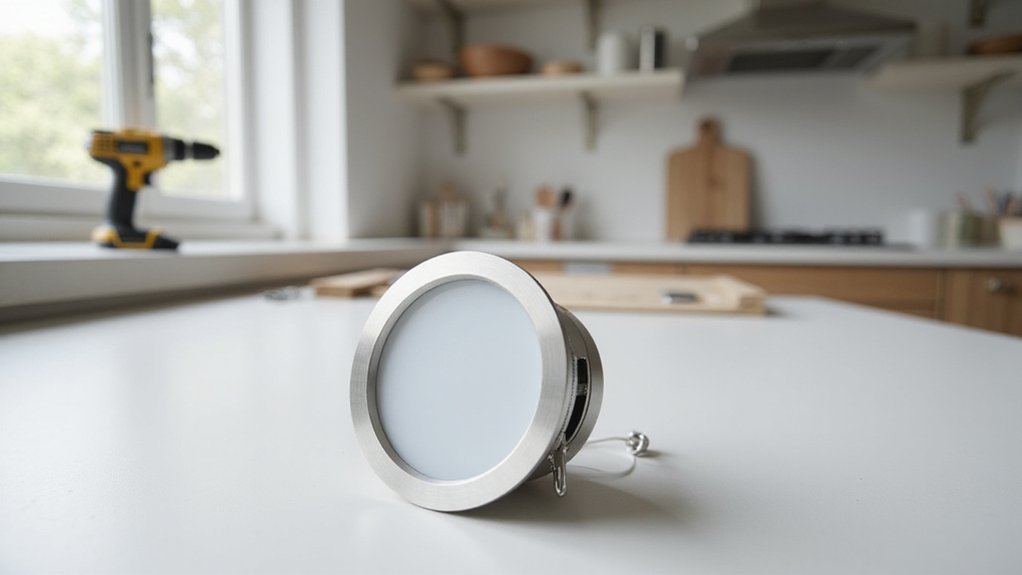
If your recessed can lights aren’t working quite right, replacing them might be the fix.
Whether you’re upgrading to LED or just swapping out an old fixture, the process is straightforward once you know the steps.
By the end, you’ll be able to safely remove the old housing and install a new one with confidence.
The full details are right below.
Why Turn Off the Breaker Before Touching Any Recessed Light?
Turning off the breaker before touching recessed lighting is essential because it ensures the entire circuit is de-energized. Unlike switching off the wall switch, which often only controls the neutral wire or may leave parts of the fixture live, the breaker physically disconnects power from the entire circuit branch. This complete disconnection prevents hidden conductors inside the can light from remaining energized, reducing the risk of electric shock. It also prevents accidental re-energization if someone flips the wall switch while you’re working. A key consideration during installation is choosing the correct housing for insulation contact to prevent fire hazards. Seasonal fan direction changes airflow, but here, verifying the breaker is off with a voltage tester confirms that no current is flowing, creating a safe working environment. A similar principle applies to ceiling fans, where wiring a fan safely requires the same breaker disconnection to avoid live connections. Always kill the breaker first, then double-check before proceeding with any repairs or maintenance.
What Tools and LED Retrofit Kit Do You Need?
To complete the installation safely and efficiently, you’ll need several essential tools and an LED retrofit kit. Start by turning off the breaker and verifying that no power remains using a non-contact voltage tester. A flathead screwdriver or a body-panel remover helps pry off the ceiling trim without causing damage. A ladder provides safe access to the ceiling. Choose an LED trim kit that matches your existing can size, usually around 6 inches, to ensure proper fit and improve both lighting appearance and energy efficiency. Wire strippers and wire nuts are necessary for making secure electrical connections. For protection, wear safety glasses and gloves to guard against sharp edges. Use a tape measure to confirm the appropriate fit, and a utility knife can help cut through caulk or gasket materials if needed. A plastic body panel remover prevents damage to the ceiling when prying off the trim. With these tools and the right retrofit kit, you’ll be prepared to complete the upgrade efficiently and safely. Always turn off the power at the circuit breaker before beginning any electrical work to avoid shock.
How to Identify Your Existing Recessed Can Light Fixture Type
To identify your existing recessed can light fixture type, start by examining the housing. Look for a metal can indicating a traditional recessed fixture, or a thin, integrated LED unit that’s canless. Next, find the label or inspection mark to determine the installation category—either new construction or remodel. Also, check if the fixture is IC rated, meaning it can contact insulation safely, or non-IC rated, which cannot. Measuring the diameter of the opening—commonly 4, 6, or 8 inches—helps ensure compatibility. Lastly, note the trim style, such as baffle, reflector, gimbal, or shower, and identify the lamp type like BR, PAR, or MR, for more precise matching. Gathering these details will guide you to the right retrofit kit without guesswork. Before handling any wiring, ensure you have the tools you need like wire strippers and a voltage tester to confirm the power is off. If you later pair these new lights with smart plugs, you can set schedules to automatically turn them off and reduce standby power waste. When comparing options, keep in mind that canned vs recessed lighting performance differences can affect brightness and distribution.
Remove the Old Bulb, Trim, and Housing Assembly
To remove the old bulb, trim, and housing assembly, start by turning off the circuit breaker and ensuring the bulb has cooled. Remove the bulb, which is usually a twist-lock counter-clockwise or held by spring clips you can squeeze gently. Be careful not to pull on the wiring during this process.
Next, detach the trim ring by pulling it straight down a few inches to reveal the spring clips. Compress each clip inward to unhook it from the housing slots. If paint resists removal, gently pry with a putty knife, taking care not to damage the drywall. Keep reusable parts organized—leave springs attached to the trim to make reassembly easier. Before removal, you must identify the type of fasteners securing the trim to avoid damaging the connections. Understanding the difference between a focused beam and a wall washing effect can help you choose a replacement trim that provides even illumination across the surface.
For removing the entire housing, disconnect the wiring at the junction box first. Remove the wire nuts and cap the house wires. Then, loosen the mounting screws, friction tabs, or spring clips holding the can in place. Once the hardware is released, push the housing up into the ceiling or angle it out. Remember, always treat the fixture as an electrical assembly during maintenance and removal. For keeping surfaces dust-free longer, consider using a dryer sheet to wipe down the trim and nearby ceiling before reinstalling. To simplify the task, first check whether your existing fixture can be swapped for a battery-powered retrofit that requires no hardwired connections at all.
How to Install the LED Retrofit Into Your Existing Recessed Housing
To install your LED retrofit into an existing recessed housing, follow these steps. First, turn off the breaker and ensure the switch is dead before handling any wiring. Insert the socket adapter into the original lamp socket, much like installing a standard bulb. This adapter provides a secure electrical connection, offering reliable power to your new LED module. Then, connect the adapter’s quick-connect plug to the LED module, ensuring the connection clicks into place before proceeding. It is crucial to confirm the light fits 5-inch or 6-inch housings for compatibility. Using a 4 way wire connector can help manage multiple connections safely if your setup requires it.
Next, compress the torsion springs on your retrofit trim. Squeeze each pair of springs together and slide each spring arm into the housing’s internal brackets. You should feel the springs catch when fully seated. Push the LED module upward until the trim sits flush with the ceiling surface. The tension from the springs will hold the trim securely in place.
Once installed, turn the breaker back on and verify the switch functions correctly. Proper installation enhances your lighting’s aesthetic appeal and energy efficiency by providing even illumination while reducing power consumption.
Fix a Trim That Won’t Sit Flush
A recessed trim that won’t sit flush against the ceiling is usually caused by issues with the spring clips, obstructions inside the housing, or uneven ceiling surfaces. First, check the spring tension. Weak or bent spring clips cannot pull the trim evenly against the ceiling. If the torsion springs form too wide a V-shape, gently squeeze them tighter to increase the force. Also, verify that the clips are properly hooked into their receivers to ensure a secure grip. For a refined finish, you can apply similar LED under cabinet lighting techniques to hide the housing edge. Before proceeding, always turn off power at the circuit breaker to ensure safety.
Next, remove any ceiling obstructions inside the housing. Items like a temperature sensor, extra wiring, or a bent bracket can interfere with the trim seating properly. Coil wiring neatly and push it out of the way. Adjust the housing position slightly if it appears to be binding or misaligned. Minor imperfections in the ceiling can be corrected by sanding down crusty hardened surface areas. For a more permanent fix, consider using spring clip adjustment methods similar to those for mounting a custom wall sconce.
Finally, inspect the ceiling surface itself. Uneven drywall or excess paint buildup around the cutout can prevent the trim from sitting flush. Sand down high spots or patch the area to create an even surface. Do not force the trim into place; instead, fix the obstruction or surface irregularity first to achieve a smooth, flush fit.
Test Your New LED Recessed Light: Power On and Fix Flickers
Power your LED recessed light and verify its functionality immediately after the trim sits flush against the ceiling. Restore the breaker and flip on the wall switch. A properly working light should turn on instantly and stay steady. If it doesn’t, turn the power off and inspect your wiring connections, as loose wires often cause flickering. After reassembling, test the fixture again to confirm proper operation. Ensure you use push-in connectors for solid ROMEX wire to eliminate the need for wire nuts and secure connections. If flickering persists, check for voltage consistency by using a voltage tester at the switch or near the fixture to ensure power remains stable. Loose wiring connections or a damaged socket can lead to intermittent lighting. If the light buzzes or flickers after several minutes, it may indicate thermal issues such as an overheating driver or harness. Swapping the LED with a known-good bulb helps identify whether the problem lies within the fixture. If multiple lights exhibit similar issues, then the source likely resides upstream of the fixtures. For aesthetic alternatives, consider using wall sconce candle holders to add decorative lighting without relying on recessed fixtures. When choosing a garage fan, check for adequate airflow rating to ensure proper circulation in the workspace.
Common Mistakes to Avoid and When to Call an Electrician
When retrofitting recessed lighting, avoiding common mistakes is essential for safety and proper operation. First, always verify fixture compatibility. Measure the diameter and depth of the existing housing carefully to ensure the retrofit kit will fit correctly; incompatible sizes can lead to poor mounting or an uneven look. Check the socket type—E26, GU10, and MR16 sockets are not interchangeable, and using the wrong type may cause wiring issues or damage. Understanding the specific wire connector types required for each socket ensures a secure and lasting electrical connection. Before beginning any work, always confirm that the circuit is off at the breaker to prevent accidental shock. For readers familiar with ceiling fans, note that the mounting bracket for a retrofit kit functions similarly to a fan canopy, supporting the weight of the fixture securely.
Prioritize safety precautions by never leaving exposed conductors, which pose shock and fire hazards. For ceilings with insulation, use IC-rated housings to prevent heat buildup that could lead to fires. You should also pay attention to lighting design: installing too few fixtures results in dark zones, while too many can cause glare and discomfort. Additionally, before removing the old fixture, detach the springs from their tabs gently to avoid tearing or weakening them, since worn springs are a common cause of housing instability.
Call an electrician if you encounter unknown or damaged wiring, burned insulation, or loose connections during your project. Professional help is also recommended when you are unsure about fixture compatibility, heat management concerns, or electrical codes, ensuring your retrofit is both safe and compliant.