Wondering how to connect wires safely with twist-on connectors? Getting this right is crucial for a secure and safe electrical connection.
Proper technique involves turning off the power, preparing the wires correctly, and tightening the connector just right.
With a few simple steps, you can ensure your wiring stays reliable and secure. Keep reading to learn the full process.
Why Does Wire Nut Size Matter for Your Splice?
Proper wire nut size is crucial because it ensures a secure, reliable splice. Using the correct size provides enough clamping force to hold twisted conductors tightly, preventing loosening over time. This tight connection resists vibration and handling stress, reducing the risk of electrical problems. A wire nut that is too loose can lead to arcing, which may cause fires, or disconnection, interrupting circuit continuity. Always ensure the wire nut is firmly tightened, using pliers if necessary, to maintain a strong connection. Just as you must adjust the ceiling fan direction seasonally for optimal airflow, you must match the nut to the wire gauge for safe current flow. Always follow a step-by-step method to verify the splice holds without exposed copper.
Always refer to the package charts for the appropriate gauge and number of conductors. These charts take precedence over color coding, which can be misleading. The right size fully contains the bare copper, leaving no exposed wire. This complete coverage helps ensure that the splice remains durable, safe, and compliant with electrical codes. For instance, wire nuts are also widely used in recessed lighting installations to connect fixture wires safely.
Turn Off Power and Clean Wires Before Splicing
Turning off the power and cleaning wires before splicing is essential for a safe and reliable connection. First, shut off the circuit breaker or the first disconnecting device controlling the circuit. Confirm the power is off by testing each wire with a voltage tester—never rely solely on the breaker’s label. A non-contact tester provides a quick and safe way to verify the absence of voltage.
Once you’ve confirmed zero voltage, inspect each wire end carefully. Look for signs of burns, nicks, or corrosion, and remove any damaged sections completely. Clean bare copper wires with a fine abrasive or a dedicated wire brush until they are shiny; this ensures a tight, low-resistance connection. Proper preparation prevents future connection issues. Use a voltage tester to ensure the power is off before cutting any wires, confirming a green indicator shows safe condition. Always match the connector size to the wire count to avoid loose splices from overcrowding. For applications exposed to vibration, choosing twist-on connectors with a built-in spring offers superior grip, similar to the secure fit required when installing wafer lights for stable performance.
Check the wire gauge to ensure compatibility with your connector. Mismatched sizes can cause uneven twisting, leading to loose splices. When removing insulation, use a sharp wire stripper to remove just enough to expose clean conductor metal without nicking it. Keep insulation scraps out of the splice area, as they can interfere with the connector gripping properly. Properly prepared wires help ensure a secure and safe splice.
How Much Wire Should You Strip for a Wire Nut?
You should strip about 3/8 to 7/16 inch of insulation for most wire nuts. This length provides enough bare copper to ensure a secure connection without leaving excess exposed wire. Consult the wire nut’s packaging or manufacturer’s specifications for the exact strip length, as it varies by connector size and wire type. Typically, small solid wires like #14 or #12 require around ¼ inch, while larger connectors and wires need closer to ½ inch. Properly stripped wire ensures good contact and reduces the risk of short circuits or loose connections. Always aim for just enough bare copper to fit inside the nut comfortably, with no copper visible once the nut is tightened. However, compared to side wiring for outlets, where excessively long strips risk short circuits from exposed copper, a wire nut connection uses less exposed wire to avoid the same hazard. For landscape lighting, following safe wiring tips ensures a clean and durable outdoor installation. Applying proper ceiling fan placement also reduces the risk of electrical hazards in high-traffic areas. For driveway lights set in concrete, using waterproof wire connectors protects connections from moisture and ground contact.
Should You Pre-Twist Wires Before Installing the Nut?
Pre-twisting stranded wires is highly recommended before installing the nut. Comparative testing shows a clear advantage for pre-twisting, as it helps prevent fraying and keeps the strands aligned. Many electricians lightly twist stranded wires to facilitate easier insertion and ensure a more secure connection. Always check the specific instructions on your connector package, as they specify whether pre-twisting is required and guarantee that you achieve a reliable, tight connection. Using even force during hand-twisting ensures uniform twists and prevents damage to the wire insulation or conductors. If your wiring is in a location where vibration and movement are common, such as near a fan motor, a loose connection can cause arcing and noise, so prioritize a solid join. For pendant light installations, you must first properly ground the fixture with the bare copper wire before making any connections. Following a proper recessed can layout prevents strain on the connected wires during installation.
How to Install and Tighten the Wire Nut Correctly
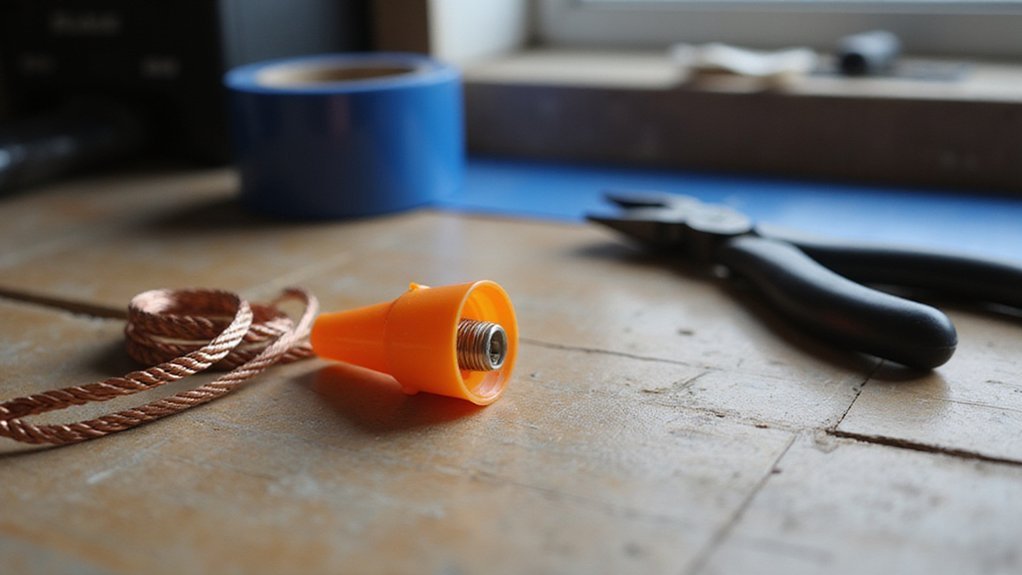
To install and tighten the wire nut correctly, start by ensuring the stranded wires are lightly pre-twisted. This helps align the conductors and makes inserting the wire nut smoother. Place the wire nut firmly over the aligned and flush ends of the wires. Turn the nut clockwise, maintaining a steady hold on the wires to keep them seated properly. Rotate until you feel increased resistance and the nut is snug—avoid over-tightening to prevent damaging the conductors. Confirm that no bare copper wire is visible below the nut’s body and that the internal spring has compressed the wires. Always verify the rated capacity before starting installation to prevent overloading or underutilizing the wire nut. Finally, inspect the splice to ensure all conductors are fully enclosed, with no exposed wire, and that the insulation sits neatly at the connector’s opening. If any wires protrude or slip, rework the splice immediately for safety and reliability. A loose connection here is a common cause of flickering LED downlights, so ensure the splice is mechanically secure. For a polished look, consider mounting your wiring assembly inside a wall sconce frame to conceal the splice. Before proceeding, always turn off power at the breaker to avoid electrical shock when handling any wiring.
Test Your Splice: Give Each Wire a Firm Tug
Once the wire nut is snug, test the splice by giving each wire a firm, decisive tug. This isn’t a gentle pull; it’s a deliberate check to confirm the connector firmly grips every conductor. A secure splice won’t slip or separate under this moderate stress. If any wire pulls free, you’ve got a failing splice—rework it immediately before proceeding. This pull test verifies the strong, secure connection before sealing. To avoid future issues, ensure the wire nut is sized correctly for the number and gauge of wires you are joining, as using the wrong size connector is a common mistake.
After passing the tug test, perform a visual inspection to ensure no bare conductor is exposed and that the connector sits flush against the wires. Then, use a multimeter to verify electrical continuity, ensuring the splice provides a reliable electrical connection. Combining mechanical testing with visual and electrical checks minimizes the risk of loose connections due to vibration or movement. Skipping these final steps could lead to future failures or safety hazards.
4 Wire Nut Mistakes That Cause Loose Connections
Even after passing the tug test, your splice can still fail if you’ve made common wire nut mistakes. Proper sizing is crucial—using caps that are too small won’t grip all conductors securely, risking loose connections. Conversely, oversized nuts leave extra slack that can cause movement and eventual contact issues. Always match the wire nut to the wire gauge and count using the manufacturer’s charts for correct selection. Understanding the mechanical grip of spring tension inside the cap helps clarify why proper sizing prevents failure. For a clean DIY finish, following safe wiring tips ensures your installation remains reliable over time.
Next, ensure your strip length is correct. Removing too little insulation prevents the conductors from making solid spring contact inside the nut. Too much exposed copper beyond the nut’s skirt can create shorts or grounding problems. Aim to have just enough insulation tucked under the cap to keep conductors insulated and protected. To avoid accidental shorts, always verify that no bare copper is visible after installation.
Pre-twisting the wires before installing the nut is essential. Misaligned conductors won’t seat evenly inside the nut, resulting in a spongy feel instead of a firm grip. Twisting them together tightly helps create a uniform bundle that fits securely and maintains good electrical contact. Using lineman’s pliers ensures a tight and even twist for reliable connections.
Finally, tighten the wire nut fully. Under-torquing leaves conductors loose, increasing the risk of disconnection over time. A nut that is not seated properly might also allow wires to come free. Follow the manufacturer’s instructions for torque and never reuse cracked or worn connectors, as the spring tension inside degrades and can compromise safety. Making these common installation errors turns a straightforward splice into a potential fire hazard. Always verify size, strip length, twist, and torque with each connection.