Struggling to get your Harbor Breeze ceiling fan remote to work? If your remote isn’t syncing with the fan, it can be frustrating.
Luckily, there are a few simple steps you can try to pair them successfully and get your fan up and running again.
Keep reading to learn the easy ways to program your remote and troubleshoot common issues.
Sync a Harbor Breeze Remote With the Learn Button in 30 Seconds
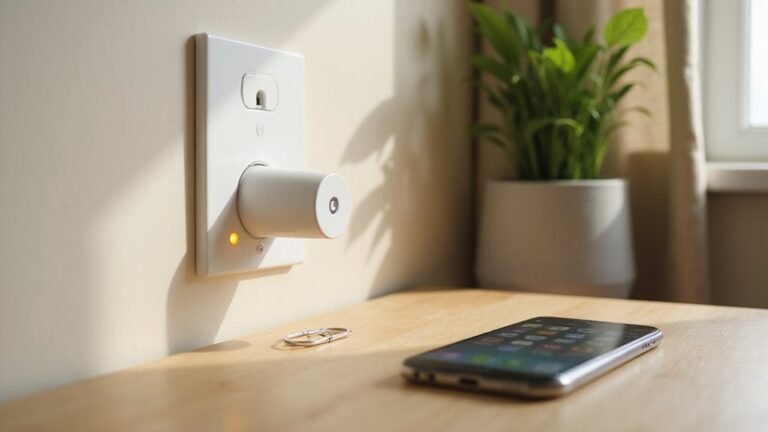
Start with replacing the batteries if your remote isn’t responding. Weak or dead batteries are the most common cause of pairing issues, so install fresh ones and ensure they’re properly seated. After replacing the batteries, turn on the fan’s power to activate it. Then, press and hold the remote’s Learn button for three seconds. The fan should turn on briefly, and its light will blink three times, indicating a successful sync. If it doesn’t, turn off the power, remove the batteries for about ten seconds to discharge residual energy, then restore power and repeat the process. This discharge step mirrors the factory reset procedure used for smart plugs to clear stored settings. For a more durable setup, consider securing loose wires with electrical tape to prevent interference during the pairing process. The Learn button is typically located near the battery compartment and can be accessed with a small screwdriver or pin. For a cleaner finish, always confirm the power is off at the breaker before handling any wiring near the remote receiver. With patience, you’ll have your remote synced in just half a minute.
Match the DIP Switches on Remote and Receiver to the Letter
To synchronize the remote and receiver DIP switches, you need to match their configurations exactly. Start by removing the remote’s battery cover to locate the small bank of 4 or 5 switches inside. Before making any changes, note the current pattern to ensure you can revert if needed. Use a pen tip or small tool to slide each switch up or down, setting them to the desired code.
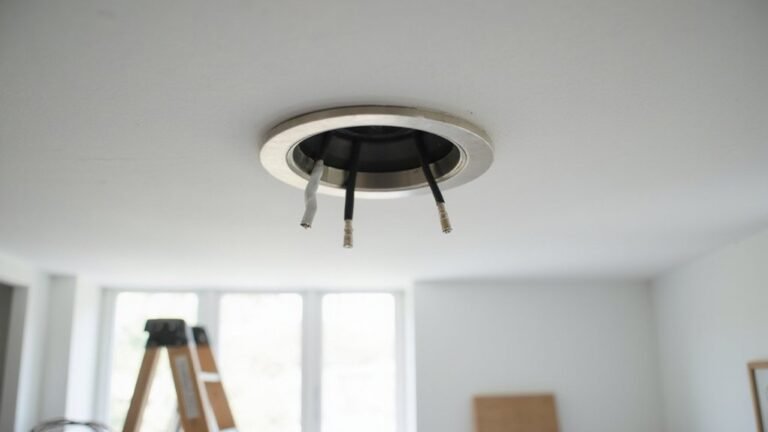
Next, turn off the power to the fan, access the receiver by lowering the ceiling canopy, and locate its switch bank. Carefully adjust each toggle to mirror the remote’s pattern precisely—up or down positions must match on both devices. Just as with installing a wall sconce, it is critical to turn off the power before working with any wiring connections. Ensure the lights are turned off before initiating the sync process to avoid interference. The matching process ensures reliable communication similar to how ceiling fan direction settings control airflow year-round. Since the receiver is often tucked inside the mounting bracket, plan for adequate clearance to reach the switches without straining the wiring.
Once both sides are synchronized, restore power and test the fan. If it still doesn’t respond, try selecting a different code pattern, as there are 16 possible combinations with four switches. Proper matching guarantees reliable communication between your remote and receiver.
Learn Button Failed? Try These 3 Backup Pairing Methods
If the learn button fails, start by power-cycling the fan. Turn off power at the wall switch or breaker for 15 to 30 seconds to reset the receiver, then restore power and wait for the fan to initialize. After that, try holding the remote button: press and hold the learn or reset button—usually located inside the battery compartment—for 3 to 5 seconds. Some models require holding it while pressing a function key like light or fan speed. If that doesn’t work, locate the receiver-side button, often a recessed hole in the fan canopy, and hold it with a paper clip for 5 to 10 seconds. Then, within the startup window, press a remote button to complete pairing. For stubborn cases, try alternate methods like holding the off button for 5 seconds, pressing high and low speed buttons simultaneously, or removing the batteries for 2 minutes before retrying. Also, check for remote battery issues, such as low voltage or corrosion, and troubleshoot for interference, since these factors can block pairing attempts. Ensure that DIP switches on both the remote and receiver are in identical positions, as mismatched frequency codes are a common cause of connectivity issues. For a secure wiring fix during remote installation, using solder seal wire connectors can prevent loose connections that cause signal interference. A similar receiver pairing approach works for other wireless controls, emphasizing that consistent signal alignment is key to reliable operation.
Verify Programming by Testing Fan Speeds, Light, and Reverse
To verify the reverse function, press the reverse button to change the fan’s rotation direction. Ensure that the fan responds immediately to the command. Test all speeds by adjusting the control to confirm each setting activates correctly, with no delays. Also, check the light switch to verify it turns the light on and off properly. If any function does not respond as expected, the issue is limited to that specific control and may require further inspection or replacement. For initial programming, hold the reset button until the light and fan respond to synchronize the remote with the fan. When selecting a replacement remote, you might consider the craftsmanship of wood chandeliers as a benchmark for durable hardware.
Still Won’t Pair? Fix Common Harbor Breeze Remote Problems
Power-cycling the fan at the breaker for 15 to 30 seconds often resets the system. Once power is restored, you typically have about 30 seconds to perform the pairing process. For older models, double-check that the DIP switches on the remote and receiver are set to the exact same positions. For newer units, press and hold the learn button on the receiver while simultaneously pressing a speed button on your remote. If pairing still doesn’t happen, examine your environment for signal obstructions like furniture or metal objects, which can interfere with communication. Additionally, test the receiver for faults and confirm that your replacement remote has the same FCC ID as the original, ensuring compatibility. If you have already tried matching dip switches, performing a fully reset of the remote by removing the batteries, pressing every button to drain residual power, waiting 30 seconds, and reinserting them before re-syncing can resolve persistent pairing issues. A key factor in successful pairing is ensuring the uplight fixture is not generating electrical interference that disrupts the remote signal. For track lighting, a similar principle applies: confirming that the power supply is fully disconnected before handling any wiring ensures safety during replacement. Selecting a pendant light shade with integrated LED technology can further reduce the risk of interference and improve pairing reliability.