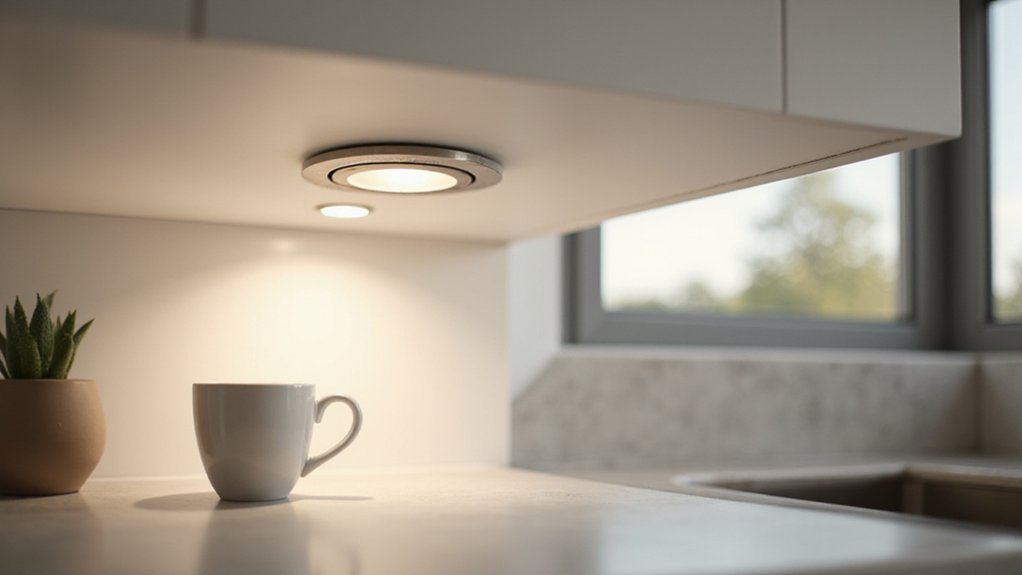
If you’re wondering whether your LED downlights can be dimmed, you’re not alone. Not all LED fixtures support dimming, and choosing the wrong type can lead to flickering or even damage.
Luckily, there are easy ways to check before buying or installing. Keep reading to learn what to look for so you can enjoy smooth, adjustable lighting.
Why Not Every LED Downlight Supports Dimming
Not every LED downlight supports dimming because it lacks the driver circuitry needed to interpret a dimming signal. Non-dimmable drivers only support two states: on and off. In contrast, dimmable models use specialized electronics that respond to phase-cut or 0–10V controls, allowing you to adjust brightness levels. Just like a ceiling fan must be set to the correct rotational direction for each season to optimize airflow, a dimmable downlight requires the proper driver to manage light output effectively. Properly securing the wire connections is also critical for safe installation, as loose wiring can lead to short circuits or electrical hazards.
Choosing a non-dimmable downlight means you are stuck with a fixed brightness, limiting your ability to control the Color temperature and overall ambiance in a room. Even if a model boasts high Energy efficiency, it may not support dimming—often a feature omitted to reduce cost and complexity.
If you connect a non-dimmable downlight to a dimmer switch, expect issues like flickering, buzzing, or premature failure. Always verify that the fixture specifically states it is dimmable before installation to avoid wasting energy and compromising your lighting design. Proper wire connections are essential to ensuring that any dimmable driver receives a stable power supply, preventing loose terminals from causing intermittent dimming faults.
What to Look for on the Label or Packaging First
When evaluating an LED downlight or its product page, look for the word “dimmable” right away. If it’s not explicitly stated, assume the light may not dim properly. Next, find the dimming range, such as 5% to 100%; this shows how low the brightness can go. Also, check for compatibility notes—see if it lists specific dimmer types or says “compatible with most dimmers,” which helps narrow your options. Note the color temperature like 3000K or 4000K, and the energy efficiency rating, as these influence ambiance and savings but don’t guarantee dimming performance. If details are unclear, find the model number and search for the full specifications online. Never assume a light will dim correctly until you see it clearly printed or listed on the packaging or product page. Look for an IC rated certification, which indicates the fixture is safe for direct contact with insulation and often linked to reliable dimming performance in enclosed ceiling spaces. Similar to replacing a ceiling fan, you must ensure the electrical supply is turned off at the breaker before handling any wiring during installation.
How to Check the Driver for Dimming Compatibility
To check dimming compatibility, start by examining the LED driver’s datasheet rather than relying on packaging or marketing claims. The datasheet should clearly state if the driver is dimmable, specify the supported dimming protocol (such as 0–10V or TRIAC), and detail the dimming range. If this information is absent, the driver is likely non-dimmable.
Next, look at the wiring. A 0–10V dimmable driver typically has two extra control wires, usually purple and gray. These wires connect to a compatible dimmer. On the other hand, TRIAC or phase-cut dimming drivers use standard line-voltage wiring without additional control leads. If you see only input and output wires with no control wires, the driver probably doesn’t support dimming.
Finally, refer to the manufacturer’s compatibility list. Trusted brands publish tested pairings of dimmers and drivers to minimize flickering and dropout. Make sure you match the driver’s dimming protocol precisely with the dimmer’s protocol. An incompatible pairing can lead to poor performance or flickering. Always verify the compatibility list before installing to ensure reliable dimming.
What Kind of Dimming Does Your Downlight Use?
Your downlight’s dimming type determines how you’ll control brightness and which dimmer you need. Phase-cut dimming, also called Triac, is common in residential settings and works by chopping the AC waveform. There are leading-edge and trailing-edge variants, with trailing-edge causing less interference and being generally preferred. For those building a custom fixture, a full build walkthrough for a crystal chandelier can offer creative inspiration. For commercial projects, 0-10V or 1-10V analog dimming is often used, where a low-voltage signal sets the brightness level. DALI is a digital protocol that enables individual fixture control, scene setting, and two-way communication, making it ideal for smart building systems. PWM, or pulse-width modulation, is an internal method that varies the on/off ratio to achieve precise dimming control. To ensure compatibility, you need to match your downlight’s control protocol—phase, 0-10V, 1-10V, or DALI—with the appropriate dimmer device. For a similar decorative approach, you might consider best wall sconce candle holders to complement your lighting design.
Why Your Existing Dimmer Switch Might Cause Flicker
Your existing dimmer switch might cause LED downlights to flicker because of compatibility issues. Many older dimmers are designed for incandescent bulbs and struggle to regulate the low wattage of LED drivers. This mismatch prevents the dimmer from controlling the LEDs properly, resulting in flickering, brief flashes, or a faint glow when the lights are turned off. A pilot light in the switch can also leak a tiny current, slowly charging the driver and causing random flicker. Additionally, wiring mistakes such as the switch cutting the neutral instead of the phase can leave residual current in the circuit. This residual current can partially activate the LEDs even when the switch is off. To avoid these problems, ensure your dimmer is explicitly rated for LED use and that it interrupts the phase wire rather than the neutral. Before touching any wiring, always shut off power at the breaker and confirm the circuit is dead with a tester, as safe wiring practices are critical to preventing shock or damage. Keeping the solar panel surface free of dust and debris is also important for optimal light charging and consistent performance.
How to Match a Dimmer to Your Dimmable Downlights
To match a dimmer to your dimmable downlights, start by confirming the fixture’s dimmer technology. Your downlights likely need a trailing-edge (electronic low voltage) dimmer, as leading-edge dimmers often cause flickering with LED lights. Look for markings indicating that the downlights are “dimmable” and check that their LED driver supports dimming functions. When using a dimmer designed for resistive loads with newer digital bulbs, compatibility issues may arise that affect both fixture performance and longevity, so it is essential to verify compatibility issues first.
Next, verify the dimmer’s load capacity. Add up the total wattage of all your downlights and ensure this total does not exceed 80% of the dimmer’s rated LED load. This prevents flickering and damage over time. Pay attention to wiring requirements as well, since some smart dimmers require a neutral wire for proper operation. Finally, check that the dimmer’s dimming range—such as from 10% to 100%—suits your needs, whether you want very dim lighting or brighter settings. If your setup includes downlights with adjustable color temperature, confirm the dimmer compatibility with that feature too. Using manufacturer compatibility charts can help you avoid trial-and-error and ensure a smooth match.
What Flicker-Free Means for Your LED Downlights
Flicker-free lighting means that the rapid on-off cycles in an LED downlight are so minimal that you won’t notice them—even over extended periods. A flicker percentage below 5% on the spec sheet generally indicates good flicker control, but for spaces where sensitivity is higher, aim for under 1% or an index below 0.1. This low flicker level is crucial because even imperceptible flicker can cause eye strain and fatigue over time. The driver plays a key role in achieving flicker-free performance; a constant-current driver with low ripple ensures a stable, flicker-free output. While a downlight’s color temperature and beam angle don’t directly influence flicker, choosing a flicker-free light guarantees these features won’t negatively impact your visual comfort. Always check the actual flicker percentage rather than relying solely on the “flicker-free” label to ensure your lighting is gentle on your eyes. For a clean installation, using proper soldering techniques when wiring your downlights can prevent loose connections that may introduce additional flicker. Similarly, understanding the cut points on the strip can help you avoid damaging the circuit board when preparing LED strips for installation. For outdoor installations, choosing a downlight with a high IP65 rating ensures protection against moisture that can cause electrical issues and flicker.
Why Your Dimmer and Downlight Might Not Get Along
Your dimmer and fixture might not work well together because of a load mismatch. LED downlights typically draw too little power for older dimmers designed for high-wattage bulbs. This mismatch causes flickering or limited dimming ranges. The type of dimmer technology also matters; leading-edge triacs often conflict with LED drivers, while trailing-edge dimmers are better suited for electronic loads like LEDs. Your LED driver acts as a capacitive load, which can distort the waveform and lead to buzzing or overheating. Compatibility is another key issue—always check your dimmer’s approved list, as performance can vary by up to 25% between models. To avoid issues, ensure your dimmer can handle the low wattage draw of modern LEDs, similar to choosing a compatible wall sconce for bathroom lighting. Wireless control systems can make things even more complicated, and the dimmer’s minimum threshold can affect color temperature stability at low dim settings. For a reliable setup, consider following a complete DIY guide to build your own tripod floor lamp using compatible dimming components. Compared to canned lighting, recessed LED downlights often require a different dimmer to avoid flickering at low settings.
Buying Checklist for Dimmable Downlights
Light quality matters: compare lumens to gauge brightness, and check the color rendering index (CRI)—aim for 80 or higher for more natural colors. Select the appropriate color temperature and beam angle based on the room’s function.
For easier installation, look for fixtures that are IC-rated if insulation contact is present, and check IP ratings for suitability in damp or outdoor locations. Confirm the cut-out size and depth match your ceiling cavity specifications. Opt for models with spring clips or pre-wired connectors to simplify the setup process. Additionally, verify that the driver is accessible from below the ceiling, as recessed housing designs often require this for future maintenance without cutting drywall. Many top-rated LED retrofit kits include easy-to-install adapters that fit directly into existing housings.
For best spacing and placement, follow effective recessed can lighting layout tips that provide clear sizing numbers for uniform illumination.
Finally, choose fixtures with a clear warranty of at least two years and transparent technical specifications. This ensures better reliability, easier installation, and peace of mind after your purchase.