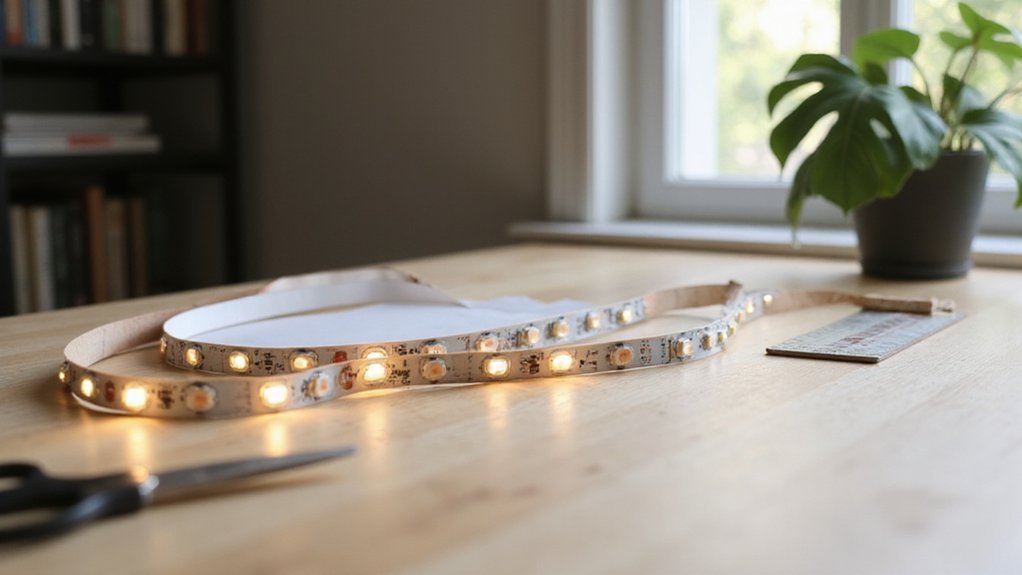
Ever wonder if you can cut LED strip lights to fit your space? The good news is yes, but only at specific points marked by dotted lines or copper pads.
Knowing where and how to cut them ensures your lights stay functional and safe. Keep reading to learn the proper way to trim your LED strips without ruining them.
Where to Cut LED Strip Lights Safely
To cut LED strip lights safely, always follow the designated cut points marked on the strip. These marks are placed over copper pads and ensure your cut is clean and precise. Use sharp scissors or a utility knife for a straight, even cut, which helps preserve the adhesive backing. A jagged or uneven cut can damage the copper pads, making reconnection difficult and risking the strip falling off. Always confirm the strip is not connected to power before starting to prevent errors. The intervals between cuts vary by voltage: 12V strips typically allow cuts every 3 LEDs, while 24V strips often require cutting every 6 LEDs. Always align your cut exactly with the marked zone, not near it, to avoid damaging the copper pads or stressing the backing tape. If the markings are unclear, consult the product manual rather than guessing by eye, as incorrect cuts can lead to malfunction or poor adhesion. Cutting at any point other than the designated copper pads may expose live wires and create a safety hazard. Properly cutting and handling your LED strips ensures a reliable connection and a tidy, professional look. Before making any cut, double-check that your work area is dry and free of static, just as you would secure the power when wiring a ceiling fan. Matching the correct voltage to your strip’s cut spacing also optimizes running cost over time, similar to how choosing the right bulb wattage affects energy efficiency.
Which Tools You Need to Cut LED Strips
Having the right tools ensures clean and safe cuts in your LED strips. You’ll need sharp scissors or a precision cutter to prevent crushing the strip’s circuitry. A measuring tape is essential to mark the exact spot, especially if you want consistent lengths for multiple sections or matching color options across your project. Always use a voltage tester or multimeter to verify that your power supplies are disconnected before cutting—this step prevents electrical shocks. For reconnecting sections, a soldering iron and solder create durable joints, but LED connectors can speed up the process if you prefer a no-solder option. Heat-shrink tubing and sealant protect exposed ends from moisture and damage, helping your installation last longer. Additionally, checking the cutting line indicators on the strip ensures you always trim at the correct point. Note that adjusting your ceiling fan direction for seasonal airflow is a separate consideration from lighting. With these tools on hand, you can measure accurately, cut precisely, and prepare your LED strip without risking damage. Only cut across solder pads to maintain LED integrity and avoid damaging the strip.
Step-by-Step: Cutting LED Strip Lights the Right Way
To cut LED strip lights properly, start by measuring the length you need for the installation carefully. Confirm your measurement twice to avoid wasting material or cutting too short. Identify the designated cut line, which is usually a dotted line or a gap between copper pads. Never cut outside this mark, as doing so can damage the circuit and ruin the strip’s functionality. Always disconnect the power supply before cutting to prevent short circuits or damage to your LED strip. Keep the strip flat on a stable surface and make a clean, straight cut along the marked line. This preserves the copper pads, ensuring you can make secure connections later. After cutting, protect the exposed end from moisture or corrosion, especially in humid environments. Seal it with silicone or use heat-shrink tubing if necessary. Flickering in finished installations often stems from poor electrical connections or incompatible drivers. A precise cut ensures the strip remains functional and ready for your next steps. For a clean DIY finish, choose the correct wire gauge to match the strip’s power requirements.
How to Test Your Cut LED Strip Before Installing
After cutting your LED strip, testing the segment before permanent installation is essential. First, disconnect the power supply and carefully inspect the cut end. Ensure the copper pads remain intact, and the edges are clean and free of debris or fraying. For waterproof strips, check that the silicone or epoxy coating wasn’t damaged, as this can compromise water resistance. Reconnect the power and perform a functional light test. Observe whether the LEDs illuminate evenly and check for consistent color and brightness across the entire segment. Any uneven lighting or discoloration indicates a problem. Verify that the polarity and voltage align correctly at the strip’s input; mismatched polarity can prevent the LEDs from lighting or cause damage. If the segment does not light evenly, reseat the connectors or inspect solder joints for proper contact. Avoid testing with a multimeter on live circuits to prevent shorts or damage. When the entire segment lights up uniformly and with consistent color, it’s ready for installation. Also, remember that dead spots often occur between solder points, so pay close attention to those areas during your visual inspection before powering the strip. Understanding that smart bulbs rely on constant current drivers to regulate power flow can help you anticipate why voltage fluctuations might cause flickering in your strip’s test. Just as with low profile recessed can lights, ensuring a secure and proper connection at every junction prevents inconsistent performance and extends the life of your setup. In addition, using uplights to highlight key features of your space can complement a properly installed LED strip, but testing the strip first ensures uniform wall washing across the entire surface.
How to Reconnect or Extend a Cut LED Strip
To reconnect or extend a cut LED strip, you can use solderless clip connectors for a quick fix or solder the pads for a more durable solution. For the solderless option, slide the cut end into the connector until the copper pads are fully seated, then latch the clip securely. Ensure the plus and minus aligns correctly, especially on multicolor strips, to avoid incorrect colors or no light. For a permanent splice, remove a small amount of insulation from the extension wires, then solder them directly onto the respective pads—matching red to red, blue to blue, and so on. When working with these connections, it helps to consider wall sconce candle holders for inspiration on integrating lighting into your decor. Tinning the pads first helps achieve a solid connection and prevents bridging. Always insulate joints with heat shrink tubing or electrical tape to protect against moisture and ensure electrical safety. During soldering, keep adjacent pads separated to prevent accidental bridges that could cause shorts. If using connectors, ensure the copper connections remain intact after cutting, as they are essential for maintaining circuit integrity. You can also explore DIY LED strip lights for additional guidance on finishing and integrating your project.
5 Common Cutting Mistakes That Ruin Your Strip
Cutting your LED strip improperly can ruin it quickly. The safe cut lines are the only spots where the internal circuit remains intact. Cutting outside these lines breaks the copper traces and disrupts electrical continuity. Always use sharp scissors or a utility knife to make clean cuts—dull tools cause jagged edges that damage the copper pads. Do not cut while the strip is powered on; doing so risks short-circuiting the circuit and damaging your power supply. Carefully expose the copper pads after cutting; incorrect exposure can lead to shorts or disconnections. Pay attention to polarity and connector fit, as reversing polarity or using incompatible connectors can cause inconsistent color output or prevent the LEDs from lighting properly. Always test the strip after each cut to ensure functionality before installation. Using aluminum channels with diffusers helps hide the strip and ensures straight mounting for a clean, professional look. Before cutting, also verify that your planned cut line aligns with the correct voltage rating printed on the strip to avoid overloading the remaining segments.