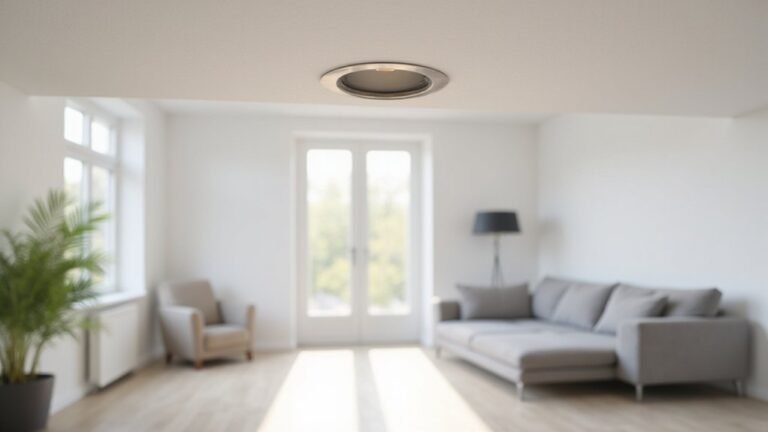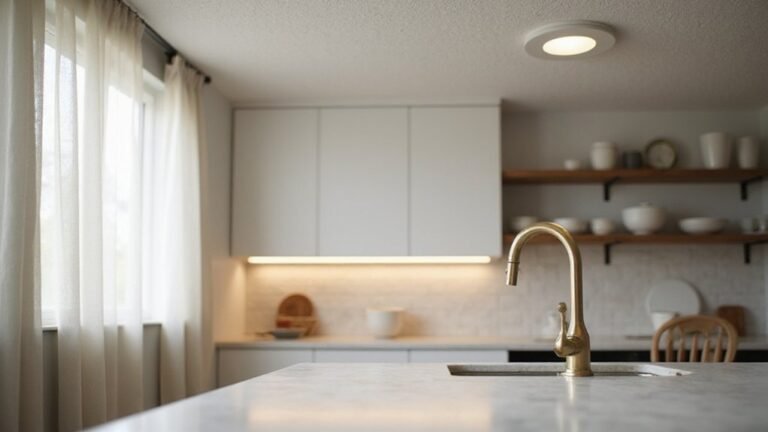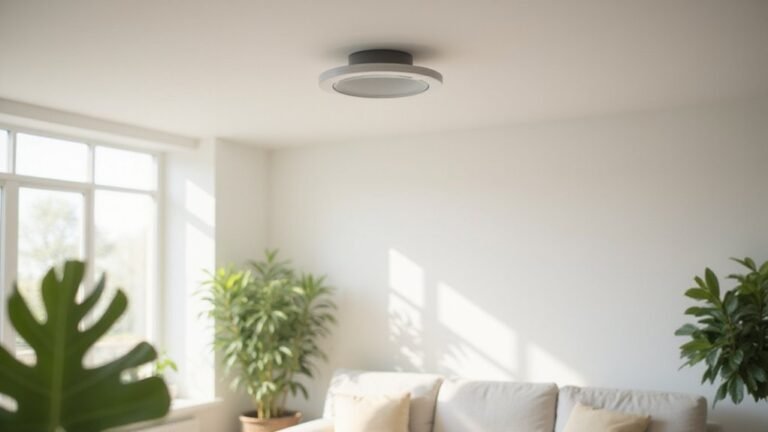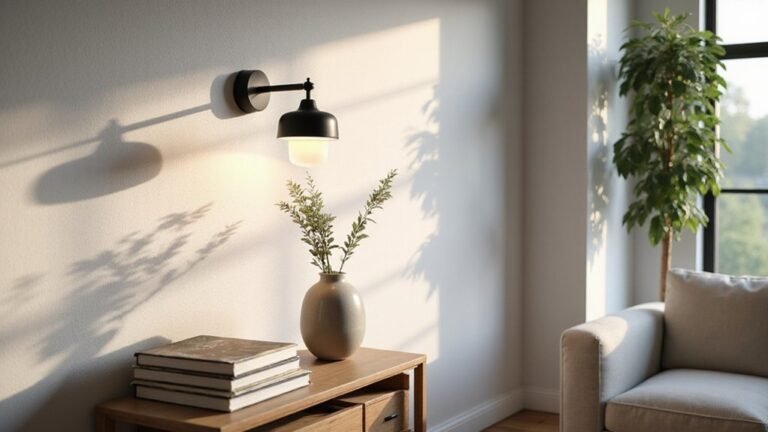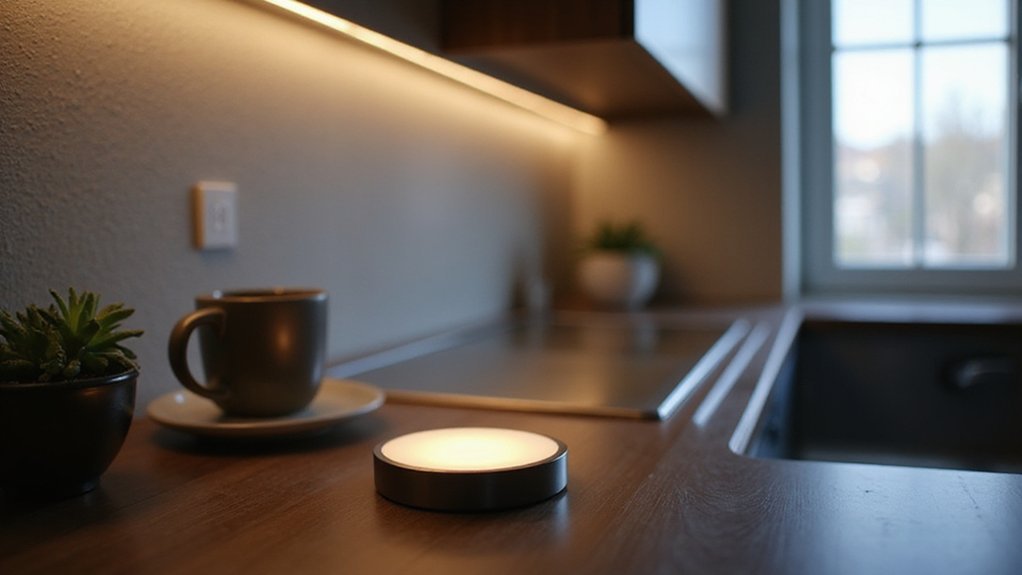
Looking for the perfect lighting solution to highlight specific areas without flooding your space? Puck lights are small, round fixtures that provide focused, decorative illumination ideal for accenting cabinets, sinks, or shelves.
They blend seamlessly into your decor, adding depth and visual interest. Keep reading to see how you can choose the right puck lights for your needs.
Puck Lights vs. Strip Lights: Why Choose Puck Lights for Under-Cabinet?
Puck lights are ideal when you want to create accent or decorative illumination rather than uniform task lighting. They produce focused pools of light that highlight specific areas, such as a backsplash or displayed items, creating a spotlight effect. This results in dramatic scalloped shadows that add a stylish, artistic touch, unlike strip lights that provide continuous, shadow-free brightness. Puck lights contribute to ambient enhancement by adding visual depth without overwhelming your entire countertop with light. They are best suited for small, segmented zones where a single fixture can make a statement. While strip lights are practical for broad, uniform lighting, puck lights give you control over focal points, making your under-cabinet space a design feature rather than just a work surface. This focused beam works by using a wall washer technique to wash a vertical surface with light. Longer lifespan is a key advantage of LEDs used in these fixtures, as they often last around 50,000 hours. When replacing a puck light, you will need to safely remove wire connectors before fitting the new unit. For a secure installation, always follow safe wiring tips such as turning off power at the breaker before handling any connections. If style and emphasis are priorities, puck lights are the better choice.
Where to Put Puck Lights (Besides Under the Cabinet)
Puck lights can be placed in many locations beyond under-cabinet areas. For kitchen spaces, install them above the sink or prep zones where shadows from your body may otherwise block light, making tasks more visible. Positioning them centered over the sink or slightly toward the faucet side helps eliminate dark spots and shadows, providing consistent illumination. Placing puck lights near the front edge of upper cabinets also brightens countertops and reduces glare from below. For a clean DIY finish, always follow safe wiring tips to prevent electrical hazards during installation.
In storage areas, puck lights effectively light up pantries and closets. Mount them on the top panel near the front edge so that light falls downward and forward, allowing you to easily see labels and contents. For deep or wide cabinets, positioning fixtures toward the front minimizes shadows cast by shelves. In tall wardrobes, add lights at different heights to evenly illuminate each shelf. For open shelving or glass-front cabinets, install puck lights on the underside of each shelf to showcase dishes or decorative items, highlighting collections and reducing back-wall shadows. This same attention to eliminating shadows should be applied when replacing your bathroom ceiling fan to ensure adequate task lighting and avoid dark spots. When selecting models, consider how running cost and lifespan compare between available brands to ensure long-term value.
Battery, Plug-In, or Hardwired: Which Power Source Fits Your Space?
Battery-powered puck lights are the most renter-friendly option because they don’t require wiring or modifications to your space. They are ideal for temporary or hard-to-reach spots like closets, display cases, or under-cabinet areas where flexibility is key. The main advantage is quick installation—you simply insert batteries and turn them on. However, battery lights usually offer limited brightness and color temperature options. You’ll need to keep an eye on the batteries and replace them periodically, which can become inconvenient if used frequently. Brightness and color consistency may also decline as batteries drain. For spaces where you need consistent, long-term illumination without ongoing maintenance, plug-in or hardwired options tend to be better choices. Just as ceiling fans must be switched between clockwise and counterclockwise rotation to optimize airflow and energy efficiency for each season, selecting the right power source for puck lights ensures your lighting performs effectively year-round. For a similar focus on maintaining performance, cleaning the crystals with a gentle microfiber cloth prevents dust buildup that can dull the fixture’s sparkle.
LED, Halogen, or Xenon Puck Lights: Which Saves You More Over Time?
LED puck lights save you the most money over time. They use between 75% and 85% less electricity than halogen lights for the same brightness, which significantly reduces your energy bills. Their lifespan is also 5 to 15 times longer, meaning fewer replacements and lower maintenance costs. Although their upfront price may be higher, the overall ownership cost drops sharply due to their durability and efficiency.
LEDs are more resistant to breakage because they lack fragile filaments, unlike halogen and xenon options. They produce crisp, consistent light without the yellow tint common with halogen bulbs. Halogen puck lights only convert about 10% to 20% of energy into light, with the rest wasted as heat—this heat can strain enclosed cabinets and increase cooling costs. Xenon lights offer a middle ground, being two to three times brighter than halogen and more efficient, but they still don’t match LED’s lifespan of approximately 50,000 hours or their high lumens per watt—typically around 80 to 120.
Replacing ten halogen lamps with LED equivalents can save you over $2,000 in energy costs across a decade and reduce your carbon emissions by about three tonnes. This makes LED puck lights a practical choice for long-term savings and environmental impact.
How Bright and Focused Should Your Puck Light Be?
For puck lights, aim for a brightness of 200–300 lumens per fixture when illuminating kitchen counters and prep areas. This range provides ample light for task work while minimizing shadows. Decorative shelves, on the other hand, require only 50–150 lumens to create a gentle highlight without causing harsh glare. Remember that material finish influences light needs; dark matte surfaces absorb more light, so you’ll likely need higher output to compensate.
The focus of the beam should be tight enough to target specific areas without creating a spotlight effect. Wider beams distribute light evenly across surfaces like countertops, while narrower beams are better suited for highlighting displays or artwork. Positioned 8 to 12 inches apart, puck lights will prevent dark spots and ensure consistent illumination. Keep these factors in mind to set up a lighting scheme that’s both effective and visually balanced.
Which Dimming, Color Temperature, and Finish Options Actually Matter?
For color temperature, 3000K creates a warm, cozy glow suitable for living spaces, while 4000K provides a brighter, more neutral light ideal for task areas. Using a consistent color temperature throughout a cabinet run ensures uniform appearance and avoids uneven lighting. Variations in temperature can be noticeable and distracting, so choosing one that matches your room’s ambiance is key. Dimmable puck lights with a specific dimmer provide flexibility in light levels for different moods and tasks. Using a remote control like those found on LED strip light remotes can simplify adjusting brightness and color settings. For bathroom applications, top wall sconce picks often use similar color temperature options to create the desired ambiance. Proper recessed lighting placement ensures even illumination without harsh shadows or dark spots.
Puck light finishes influence how well the fixtures blend with your cabinetry and hardware. White finishes tend to integrate seamlessly with light-colored cabinetry, making the fixtures less noticeable. Dark finishes help fixtures disappear on dark surfaces, providing a cleaner look. Metallic trims coordinate well with hardware or pulls, enhancing your overall style. Your choice should either help the fixture vanish into the background or complement your existing decor, depending on your aesthetic preference.
How to Measure and Install Puck Lights in 5 Steps
Start by installing the mounting rings onto the ceiling or wall surface, ensuring they are aligned and level. Route the wiring through the drilled holes or notches in the mounting rings, keeping the wires organized and protected from damage. Secure the wires with clips to prevent movement or accidental disconnection. Next, attach each puck body to its respective mounting ring. If using a hardwired connection, you will need to drill a 1.25-inch hole for the wiring. Before finalizing, perform a dry-fit to confirm the layout and spacing looks correct. Once satisfied, restore power and test each puck light, checking that all connections are tight and the lights operate as intended. Accurate measurements, proper material checks, and careful wiring prevent costly mistakes and ensure a professional finish. If a puck light fails to power on after testing, treat it like a smart device that may require a full reset to clear any residual electrical faults before reconnecting the circuit. For outdoor installations, consider that solar-powered alternatives offer a simpler, wire-free solution with comparable brightness for deck and patio areas.
Your Final Checklist: Fit, Power, Beam, and Budget for Puck Lights
To ensure your puck lights are a perfect fit, measure your space carefully before purchasing. These fixtures are small, so check the clearance needed for surface or recessed mounting. Be precise in your measurements to avoid buying lights that are too large or too small for your intended area. Gather your installation tools—such as a drill if you plan to screw the lights in or adhesive pads for a damage-free setup—so you’re prepared to start. Confirm that you have everything on hand to prevent delays during installation. Many puck lights feature a magnetic base for versatile placement and hands-free use. For recessed installations, follow effective spacing rules similar to can lights to avoid dark spots and uneven illumination. Before finalizing placement, assess the fixture’s weight and balance to ensure your mounting surface can support it without sagging. Additionally, consider the lumens output and color temperature to match the brightness and tone of your existing recessed lighting retrofit kits for a consistent look.
Choosing the right size and mounting method is crucial. Measure the width and depth of the space where you want the lights to sit. For surface mounts, ensure enough clearance behind the fixture for wiring or mounting hardware. For recessed setups, confirm that the fixture’s diameter fits within the cavity without obstruction. The goal is a seamless look with no protrusions or gaps that could compromise your aesthetic or function.
Common Mistakes to Avoid When Buying Puck Lights
Avoid overlooking key aspects like power type, brightness, placement, dimming compatibility, and build quality when buying puck lights. These details influence both performance and longevity. For battery-powered options, always check the claimed runtime; actual performance can be significantly lower, leading to frustration. If you’re aiming for a vintage look, hardwired puck lights are the better choice because they offer permanent, consistent illumination. Proper spacing is crucial—measure 12 to 18 inches apart to prevent uneven lighting and glare. Ignoring dimming compatibility can cause flickering or limit your control over brightness; always test your dimmers before final installation. Poor build quality often results in overheating or loose connections that shorten the unit’s lifespan. Verify safety certifications and match the mounting hardware to your surface to avoid installation issues. Many integrated LED puck lights require full fixture replacement when they fail, which drives up waste and service costs. Lastly, make sure replacements are accessible since some designs make swapping damaged or outdated puck lights costly and complicated. Paying attention to these details ensures your puck lighting performs reliably and looks great.