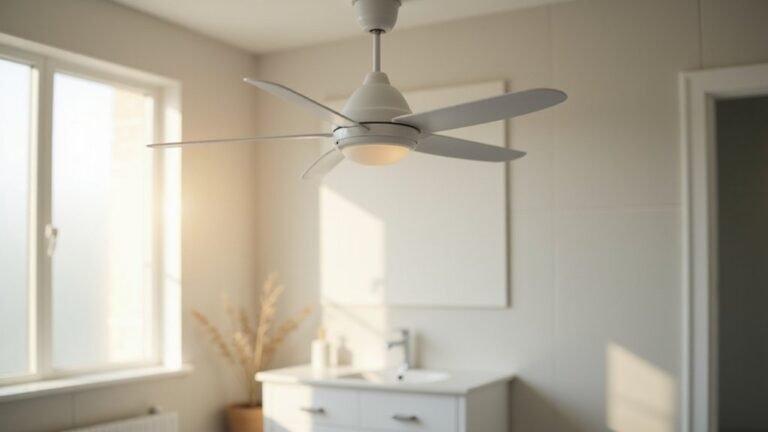
Ever wondered how to add a light to your ceiling fan without calling a professional? It’s a manageable DIY project that, with some basic tools and careful steps, can brighten up your space.
By understanding your fan’s wiring and following safety checks, you’ll be able to install a new light kit confidently. The full process is here to guide you through every step.
Ensure Your Ceiling Fan Supports a Light Kit
You must confirm that your ceiling fan is compatible with a light kit before making a purchase. Start by checking your fan’s model number against the manufacturer’s compatibility list, as not all fans support light attachments, and matching brands reduces the risk of issues. Verify the bulb socket type—common options are E12 (candelabra) or E26 (medium base)—to ensure the light kit will support the bulbs you intend to use. Examine the mounting hardware to see if it matches your kit’s attachment style, whether screw-on, twist-lock, or bracket-mounted, because incompatible hardware will prevent proper installation. Additionally, double-check that the wiring configurations match—hot, neutral, and ground connections must align with your kit’s wiring scheme. If you’re unsure about any step, consult the manufacturer’s instructions or seek professional guidance to avoid safety hazards or damaging your fan. Before wiring, ensure you have the correct tools such as a screwdriver and wire stripper to safely handle connections. Using recessed can lights may help you visualize proper housing alignment for flush-mounted fixtures. Ensuring compatibility in these areas helps guarantee a smooth, safe installation and reliable operation of your new light kit.
Turn Off the Power and Verify It’s Dead
Turn off the power at the circuit breaker or fuse box before working on electrical fixtures. Even if you switch off the wall switch, some fans stay powered directly and can still give an electric shock. Find the correct breaker for the circuit, lock the panel if possible, and tag it to prevent someone from flipping it back on during your work. Once the breaker is off, use a voltage tester to check all wires in the box. Test every wire—some rooms may have multiple circuits—so do not assume. Recheck if you’re uncertain about the circuit routing to ensure all power is truly cut off. Use the panel schedule to confirm descriptions matching each breaker for the upstairs bedroom before turning off the identified breaker to disconnect power.
Gather Tools and Materials You’ll Actually Need
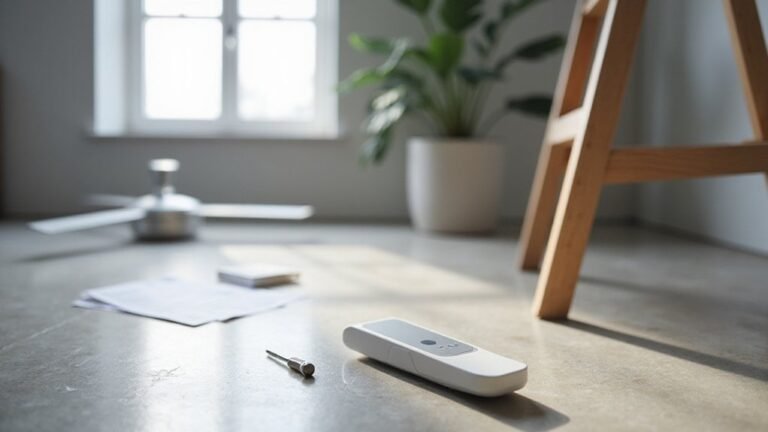
Gather the necessary tools and materials before you start. A sturdy ladder is essential to reach the ceiling safely. Have Phillips and flathead screwdrivers, as well as pliers, on hand for removing and tightening connections. Wire strippers and a voltage tester are critical for safety—always confirm the power is off before beginning work. Electrical tape, wire nuts, and gloves will help protect you and ensure secure connections. Check that your light kit is compatible with your ceiling fan, and review the manufacturer’s specifications beforehand. Ensure your wire colors match: white to white, black or blue to blue, for proper wiring. Keep screws, mounting hardware, and a parts tray close by to prevent losing small pieces. You might also need a drill with a 9/64-inch bit, along with the manufacturer’s wiring diagram for guidance. Finally, don’t forget to gather the correct bulbs and shades that fit your new light kit. Always test the voltage before touching any wires to confirm the power is off. For optimal performance, verify that your fan’s direction switch is set to the correct seasonal setting after installation. For a safe and clean finish, use Wire strippers to remove just the right amount of insulation from each wire end before connecting them.
Match Your Light Kit to Your Fan Brand and Wiring
Matching your light kit to your fan’s brand and wiring is essential for proper fit and function. First, check your fan’s model number on the manual or canopy sticker to ensure compatibility, as not all light kits fit all models even within the same brand. Hunter, for example, notes that only specific Hunter light kits are designed for particular fans. When it comes to wiring, verify that your fan has the labeled blue and white wires for the light, and cross-reference this with the manufacturer’s instructions.
Universal light kits are rarely truly universal; they usually only work with certain base types and models. Before purchasing, confirm that the mounting interface and wire connectors match your fan’s setup. A mismatch can lead to wasted time and expense, or worse, improper operation. Unlike recessed lights which are typically wired in series for safety, ceiling fan light kits must instead be wired in parallel. For a clean and safe installation, you may also want to integrate a smart plug to control the light separately via voice commands. When disconnecting old wiring, always use the proper tools to gently release the spring from push wire connectors before pulling the wires apart. Taking the time to match both brand compatibility and wiring specifics ensures a smooth installation process.
Remove the Fan’s Bottom Cap for Light Kit Installation
To remove the fan’s bottom cap for light kit installation, start by turning off the circuit breaker and confirming the fan is de-energized. Position a stepladder beneath the fan housing for safe access. The bottom cap may sit flush against the housing and can be either twisted off or secured with small screws, depending on your model. Typically, you’ll find a decorative cap or a switch housing cover. Some caps are held by two or three screws, while others thread onto a nipple.
Support the cap with one hand while loosening the retaining screws. If the cap is threaded, unscrew it counterclockwise. For caps that are stuck due to age or corrosion, apply gentle pressure with pliers. Carefully lower the cap to expose the internal wiring and components. Before disconnecting any wiring, review safe wiring tips from a wall sconce guide to ensure proper precautions. Detach any plug-in connectors from the existing wiring before fully removing the cap to avoid strain on the wires. If necessary, remove any plastic center plug to free up space for the light kit post. Keep all screws and small parts together, as you may be able to reuse the decorative cap during the installation. For additional design inspiration, consider reviewing top wooden chandeliers that blend quality and style. Always confirm that your wire gauge can handle the light kit’s current load to prevent overheating.
Connect Light Kit Wires: Blue to Black, White to White
Once the bottom cap is removed and the wiring is exposed, you will see the light kit leads ready for connection. Connect the blue wire from the fan to the black wire from the light kit, as the blue typically serves as the hot lead for the light. For the neutral connection, join the white wire from the light kit to the white wire from the fan. Your switch configuration influences the hot wire connections: in a single-switch setup, connect the fan’s blue wire to the ceiling’s black hot wire to control both simultaneously. In a dual-switch setup, connect the blue wire to the red wire from the ceiling for separate light operation. Always tug each wire nut firmly to ensure a secure splice, and cap any unused wires before neatly pushing everything into the canopy. Disconnect the power at the breaker box before handling any of these connections to prevent electrical shock. For a cleaner finish, you can hide the wires inside a custom conduit similar to the LED strip light housing methods described in the DIY guide.
Mount the Light Fixture and Secure It Tight
To mount the light fixture properly, start by ensuring the fit is correct. Use only a fan-compatible model and remove the switch housing cover plate to expose the mounting point. Confirm that the mounting ring aligns perfectly with the fan’s bottom opening; any mismatch can cause vibration. Retrieve the correct mounting hardware from the kit—never substitute drywall screws, as they lack the strength needed for secure attachment. For optimal aesthetics and functionality, consider choosing a chandelier for the kitchen that matches your fan’s style and weight capacity. Attach the fixture using the provided screws, tightening them until the plate cannot move. As you secure it, pay close attention to wiring alignment by gently pushing excess wire into the housing. Be careful not to pinch any wires between the fixture and the fan body, which could cause damage or electrical issues. Wall sconce candle holders provide a similar decorative accent for other areas of your home. If the remote control fails to operate the light after installation, check for a dead remote control battery or a loose connection at the receiver.
Once the fixture is seated flush against the fan, tighten all screws evenly. This prevents wobbling and ensures a stable mount. Use lock nuts or locking pins if provided, to keep the assembly secure under fan motion. After installation, check for side-to-side play; any movement indicates that the fixture needs to be retightened or reseated.
Finish the process by restoring power only once all components are snug and secure. This guarantees that the fixture is mounted safely and will operate smoothly without unnecessary vibrations or risks.
Install Bulbs and Glass Shade on Your New Light Kit
After securing the housing, install the bulbs and glass shade carefully. Choose bulbs that do not exceed the maximum wattage specified by the manufacturer, typically 60W, 100W, or 14W for LED bulbs. Screw the bulbs in by hand until they are seated, avoiding forcing them to prevent socket damage. If your fixture uses an LED board, simply plug it in.
Handle the glass shade with care to prevent chipping. Align it with the threaded nipple or tabs, then secure it with the finial, thumb screws, or twist-lock mechanism. Tighten just enough to make the shade stable and centered; over-tightening can cause cracks. Use a stepladder and wipe the area clean before installation. Confirm that the shade does not contact the bulbs or wiring. Perform a gentle touch test to ensure it does not wobble or rattle before completing the installation. For brighter illumination, consider using higher lumen output bulbs that match the fixture’s color temperature and dimming compatibility for optimal light quality. Always check that the wire gauge and placement match the circuit’s load requirements to avoid overheating.
Restore Power and Test Both Light and Fan Controls
Restore power at the circuit breaker, not just the wall switch, to test both the fan and light. This ensures that any power outage or breaker trip is addressed before testing. Use a multimeter set to AC volts to verify that there is 110–120 volts at the light leads, confirming proper power flow. Bypass a faulty power limiter by connecting the black wire directly to the red wire with a wire nut to restore full power to the light. Always use a voltage tester to confirm the circuit is dead before handling any wires.
First, test the fan motor. If the blades spin, power is reaching the assembly. If they don’t, check nearby outlets to rule out a room-level power outage.
Next, test the light control switch or pull chain. If the light remains off, the control path is likely faulty. Cycle the switch after restoring power and observe whether the light responds. If you are also choosing between different fixture sizes, keep in mind that 4 inch recessed lighting often provides a more focused beam suitable for task areas.
Finally, perform a low-speed function test. If both the fan and light respond correctly, the installation is complete. If either component fails, the issue probably lies in the control switch, receiver, or wiring, not the installation process itself. For sustained flickering issues, consider replacing the dimmer switch with a compatible model designed for your LED bulbs.
Fix Common Light Kit Problems: Flickering or No Power
Flickering or no power in your ceiling fan light kit can often be fixed without rewiring. Start by reseating the bulb; fan vibration can loosen it, causing intermittent contact. If only one lamp flickers, check for socket corrosion or a weak center contact—common issues that disrupt the electrical connection. Tighten loose wire nuts inside the light housing and canopy because vibration might loosen them over time. Make sure you are not using a non-LED dimmer, as this can cause flickering at low settings. Lastly, swap out the bulb to test if it’s a failing LED driver that mimics wiring trouble. The socket itself may be damaged or worn due to age or heat, requiring replacement to restore reliable function. Isolating the exact cause helps you resolve the issue quickly instead of replacing the entire light kit.