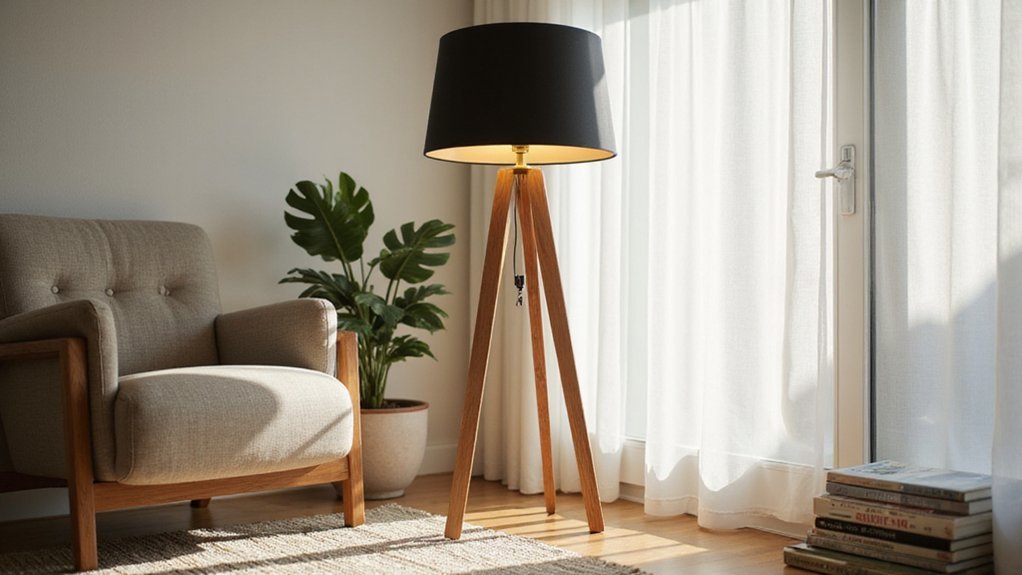
Thinking about building your own floor lamp but not sure where to start? A DIY tripod floor lamp is a great way to add custom style to your space without breaking the bank.
By the end of this, you’ll know how to create a sturdy, stylish lamp from simple materials, just like a pro.
Keep reading to turn your idea into a finished piece.
What You’ll Need: Materials and Tools for a DIY Tripod Floor Lamp
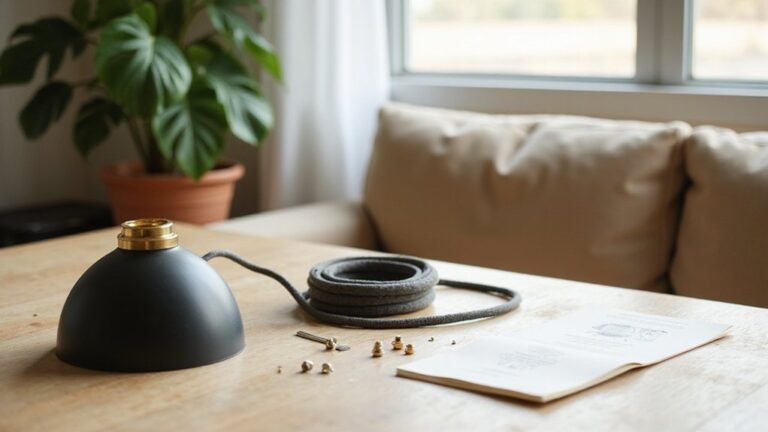
To build a DIY tripod floor lamp, gather three 1×3 pine boards, each 6 feet long, for the legs. For extra stability, you can opt for 5/4 pine, which offers sturdier support. You’ll also need a lamp kit containing a socket, harp, and 3-inch threaded rod, along with a plug and cloth-covered cord to complete the electrical connection. Fasteners such as wood glue, screws, and washers are essential to secure the frame and components properly. Sand the legs with a belt sander, clamping them together for uniformity after cutting the tapered shape with a jigsaw. If your completed lamp ever flickers, check for a loose bulb or a faulty socket connection, as these are common causes of intermittent lighting. To ensure proper airflow in the room, you can also adjust the ceiling fan direction each season for optimal comfort. Always turn off the power at the breaker before working on any electrical connections to prevent shock.
The required tools include a jigsaw for cutting, a drill driver for making holes and driving screws, and a belt sander for shaping the wood. Wire cutters are important for trimming electrical wires, and a multimeter can help ensure proper wiring and safety. For finishing touches, choose a stain or spray paint to add color and style. This allows you to customize the lamp’s appearance to match your decor. Finally, a drum shade can be added and customized with hot glue or staples for a professional, polished look.
Cut and Shape the Legs for a Modern Tripod Look
Begin shaping your legs by marking a diagonal line starting 1 inch from a bottom corner and rising 8 inches along the outer edge. Clamp the leg securely and cut just outside the line with a circular saw to achieve a smooth taper. This creates the sleek, modern tripod silhouette. Next, focus on the top shaping: trim each leg’s upper corners at 45° by removing about 3/4 inch with a miter saw. This softens the blocky ends for a cleaner junction. Alternatively, you can use a disk sander to round over the top edges for a softer look. Save the offcuts—they might come in handy later. To ensure uniformity, use the first finished leg as a template for the other two, gang-sanding all three with 60- to 80-grit sandpaper. This step guarantees symmetry and helps reduce wobble during assembly. After sanding, drill a hole through each leg 1 inch from the top edge for wing screws to secure the legs later. Applying a proper finish can also help protect the wood and extend the life of your lamp, similar to how good habits maximize LED downlight lifespan. For a cleaner wiring path, consider routing a shallow channel along the inner face of each leg, mirroring the concealed wire management used in under-cabinet setups.
Sand, Stain, and Protect the Wood Before Assembly
To ensure a smooth finish, dampen the wood to raise the grain, then let it dry for 30 minutes before doing a final sanding pass. This step helps achieve a smoother surface by removing any raised fibers. Stir your stain thoroughly to prevent uneven color, then apply it with a cloth, wiping off excess along the grain to avoid blotches. Allow the stain to dry completely, usually for at least a few hours or as recommended by the manufacturer. Using a pre-stain wood conditioner before staining can reduce blotching and promote even absorption for a more consistent finish. For a professional final look, consider how guide wire lighting mounts easily for clean, tensioned support. Consistent lighting in the room can be enhanced if you also consider the recessed housing size for proper alignment with your DIY setup. Before beginning the staining process, it helps to know the different bulb types each housing supports to ensure your final fixture works as intended.
Next, apply at least two thin coats of polyurethane for proper protection. Use a brush or foam applicator to ensure even coverage. Between coats, lightly sand with 320-grit sandpaper to smooth out any imperfections and ensure good adhesion for the next layer. This process forms a durable barrier that guards against scratches and fading before you start assembly.
Build a Sturdy Center Connector for Your Tripod Lamp
A sturdy center connector must support the lamp head’s weight and maintain the assembly’s stability. To achieve this, build it as a load-bearing joint that connects the tripod legs at the apex and supports the lamp hardware above. Start by drilling a centered hole through a metal block or a 3D-printed hub, ensuring the hole matches your rod diameter precisely for a snug fit. Use a threaded adapter—such as a 1/8 IP thread—to connect the tripod threads to your lamp kit’s rod. This connection isn’t just about functionality; it influences the lighting design and aesthetic balance. A crooked connector will misalign the shade and ruin the overall look. Mechanical fasteners like threaded couplers, nuts, and washers provide reliable retention, outperforming glue alone. During assembly, check that the top mount sits level with a bubble level. Tighten all fasteners fully, taking care to avoid scratching hardware by using a protected grip. This will give you a sturdy, stable base for your lamp stack. The adjustable lamp shade kit fits heights of 8, 9, and 10 inches, allowing three distinct positions for the shade. For superior recessed lighting quality, ensure your tripod lamp’s shade evenly distributes light without harsh shadows. For the best results, follow spacing and placement rules that prevent uneven illumination across the room. Be mindful that the center connector’s height directly affects the light’s spread, similar to how recessed light placement governs beam angles.
Assemble the Tripod Base: Align, Glue, and Secure the Legs
Align, glue, and secure the legs by first placing them with their back edges flat on a workbench and ensuring the tops are aligned to fan out at the same angle. Clamp the legs together to lock the spacing and prevent shifting. Mark each joint, then carefully separate the pieces for glue application. Use a thin coat of glue on both the leg ends and connector surfaces, rubbing until the glue becomes tacky. Reassemble the legs and drive 1-1/4 inch screws through the pre-drilled pilot holes. Start with a shallow counterbore using a 3/8 inch bit to avoid hitting lamp hardware. Re-clamp each leg to maintain the correct angle throughout the screwing process. Immediately wipe off excess glue to keep the joint clean. Allow the assembly to cure fully before removing the clamps. Once dry, fill the counterbored holes with wood plugs and sand them flush. For lasting reliability, consider how energy efficiency and lifespan factors into similar DIY projects. This principle is similar to how adjusting ceiling fan direction can optimize both comfort and power usage throughout the year. Check for wobble before proceeding to the next step. Use proper wire connections to ensure consistent power delivery to any integrated lighting components, following the same clean wiring techniques used for LED strip installations.
Wire the Floor Lamp: Thread the Cord and Mount the Socket
To wire the floor lamp, start by unplugging it and removing the bulb and socket hardware. Use a stiff guide wire to pull the lamp cord through each section from top to bottom, ensuring proper cable management. Carefully strip both conductors, then attach them to the guide wire and draw the cord through while keeping it taut to prevent slack.
Tie an underwriter’s knot near the socket to reduce strain on the terminals. Connect the hot conductor to the brass terminal and the neutral to the silver terminal, paying attention to polarity—ribbed insulation indicates neutral, while smooth insulation is hot. Loop the conductors clockwise under the screws and secure them firmly. For safe operation, follow recessed lighting placement guidelines when positioning the lamp to avoid shadowing and ensure even light distribution, as waterproof recessed can lights similarly require careful spacing to prevent moisture pooling.
Refit the socket shell, making sure the wires are not pinched or bent sharply. Replace any cord grommets to protect the cable from abrasion. Before powering on, test the wiring for continuity with a bulb of appropriate wattage to confirm a proper connection. All neutral wires, including those from the sockets and power cord, must be grouped together in a single wire nut to establish a common safety point. If the lamp fails to operate, a smart plug reset may resolve power issues by clearing old device settings.
Pick a Lampshade That Works With Your Tripod Base
Choose a lampshade that appropriately complements your tripod base in width and shape. The shade’s diameter should exceed the base width by about 10 to 20 centimeters, or roughly twice the base’s width, to prevent a top-heavy appearance. For proportion, aim for a shade height that’s approximately one-quarter of the total lamp height or two-thirds of the tripod’s height. Match the shape of the shade to the style of your tripod: round bases pair well with round or Empire-shaped shades, while angular bases look best with square or rectangular shades. Ensure hardware compatibility by selecting a fitter—spider, clip-on, or uno—that conceals the lamp’s neck and harp. The shade should sit securely without shifting and be proportioned to maintain stability. Additionally, choose a shade material that balances aesthetic preference with functional lighting needs, as opaque shades provide focused accent lighting, whereas translucent shades diffuse light for reading or ambient purposes. For safe wiring, use 4 way wire connectors to join multiple lamp cord runs neatly within the tripod base. For a more refined lighting effect, consider selecting a shade with a glass crystal design to enhance elegance and light reflection.
Safety Checks and Adjustments Before You Plug It In
Before plugging in your lamp, ensure safety by unplugging it completely. Always disconnect the plug from the power supply before doing any assembly, changing bulbs, or performing maintenance to avoid the risk of electric shock. Inspect the cord carefully for cuts, frays, or other damage; if you find any, do not use the lamp until a qualified professional replaces the cord. Check internal wiring connections to confirm they are secure and that no conductors are exposed. For maximum safety, switch off the circuit at the main electrical panel before handling wiring or working on the lamp.
Next, verify the lamp’s stability. Place it on a flat, level surface and ensure all feet touch the ground evenly. Gently apply light pressure around the base to test for wobbling. Tighten any loose leg joints and fasteners to keep the base firmly upright and prevent tipping.
Electrical safety also involves selecting the correct bulb wattage recommended for your lamp to avoid overheating. Keep the lamp away from flammable items such as curtains or paper. Position the power cord to prevent tripping hazards, and secure the shade and socket firmly before plugging in. If you are unsure about any aspect of installation or safety, consult a qualified electrician for advice.