Installing a floodlight outside might seem complicated, but with the right steps, it’s manageable. You’ll learn how to safely turn off power, remove an old fixture, and securely connect the new Ring flood light.
Once installed, you’ll connect it to Wi-Fi and customize motion zones for the best security. The full details are right below to walk you through every step.
Safety First: Shut Off Power at the Breaker
You should never, ever skip turning off the breaker before handling any wires because failure to disconnect power can lead to severe shock, fire, or even death. It is essential to verify the power at the source before beginning work. Start by turning off the correct breaker that supplies the floodlight circuit. If you cannot identify the specific breaker, switch off the main breaker instead. Do not rely on the breaker’s position alone; you must confirm the power is actually off. Use a non-contact voltage tester to check the wires thoroughly. Remember, the screwdriver provided by Ring is not insulated, so do not use it on live wires. Always keep the area safe, especially if gas or fumes are present. Before proceeding, lock out the panel and verify zero voltage to ensure safety. Additionally, always verify the switch’s status before working on wiring to confirm the power is disconnected. When working with any electrical fixture, it is crucial to securely cap all wire connections to prevent accidental shorts or arcing. For safety when removing old connections, you can disconnect push wire connectors by inserting a small screwdriver into the release slot and pulling the wire free. For outdoor installations, also ensure the mounting surface is solid enough to support the fixture’s weight, as this reduces strain on the wiring and helps maintain a watertight seal against moisture.
Gather Your Tools and Ring Flood Light
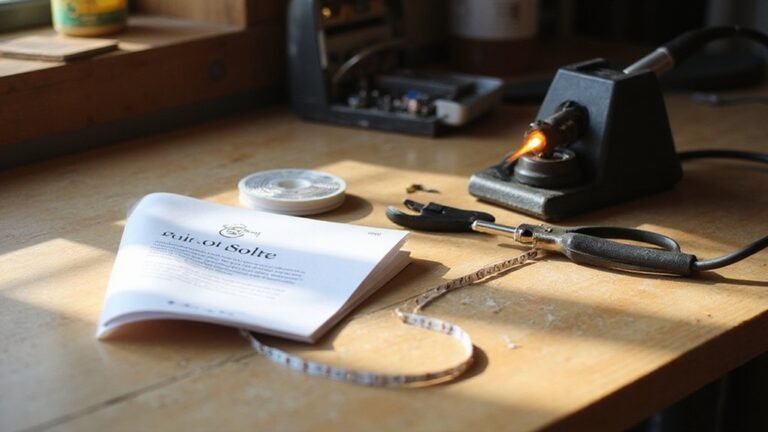
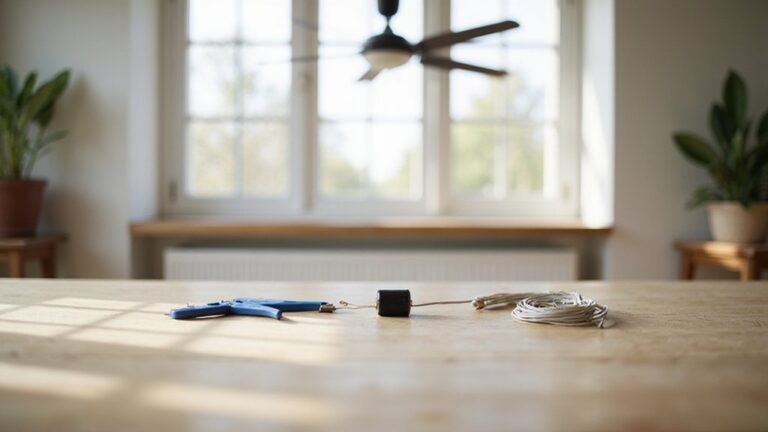
Before climbing the ladder, gather all necessary tools and inspect the Ring flood light’s contents. Opening the box, verify you have the floodlight body, mounting bracket, mounting plate, included screws, cap nuts, and a hook or hanging strap. Bring your Phillips screwdriver, wire nuts, and caulk gun. Sort the mounting screws by size to match your junction box’s configuration, as forcing a poor fit can violate electrical codes. Stage your ladder securely and keep the hanging strap accessible so you can temporarily support the fixture during wiring. Confirm that your existing outdoor-rated hardwired connection has a ground wire. Proper preparation makes it easier to adjust lighting angles later and ensures a smooth, safe installation. Using the fabric strap to hang the camera from the mounting plate makes single-person wiring easier. For indoor installations, consider that ceiling fan direction changes seasonally to improve energy efficiency, though this does not apply to outdoor flood lights. If you notice a persistent humming from an indoor fan, tightening the blade screws can often resolve the noise issue. When replacing existing fixtures, check that the power is off at the breaker before handling any wires.
Remove the Old Fixture and Inspect the Junction Box
You should remove the old fixture and inspect the junction box before installing the new flood light. Start by turning off the power at the circuit breaker and verifying that the fixture is de-energized with a voltage tester. Follow proper removal steps: take off any decorative covers, then loosen the retaining screw while supporting the fixture body to prevent it from falling. Carefully pull the fixture away from the junction box, photograph the wiring connections for reference, and twist off the wire nuts counterclockwise to disconnect the wires. Separate the hot, neutral, and ground wires and immediately cap the exposed ends with wire nuts to ensure safety. Assess the existing mounting bracket for reuse or replacement, deciding to replace the original bracket with Ring’s provided one for durability. A similar inspection of the junction box integrity is recommended in canless recessed lighting setups to ensure a secure foundation. Understanding how uplights work is also essential when positioning fixtures for optimal illumination of architectural features. Choosing the correct wire connector for each connection ensures reliable conductivity and prevents overheating in the circuit.
Next, perform a thorough inspection of the junction box. Look for signs of looseness, corrosion, cracking, or heat damage. Confirm that the box is rated to support the weight and size of your new flood light. Remove any metal brackets, threaded studs, or backing plates that won’t be reused. Clear out debris, old sealant, and leftover screws to make the box clean and accessible. If you notice frayed insulation or an unstable mount, stop and repair or replace the box before proceeding. Ensuring the box is solid and clean is crucial for a safe and secure installation.
Level and Install the Mounting Bracket
To level and install the mounting bracket, start by positioning the posts parallel to the ground for wall installations or aligned with the wall for overhang mountings. Make sure the “FRONT” marking faces outward. Do not fully tighten the screws yet—first verify that the bracket sits flat and is level. Use a level tool if needed to ensure proper alignment. For a safer installation, consider using a voltage tester to confirm the power is off before handling any wires. For a similar DIY electrical project, you can apply weather-resistant seal techniques used in under cabinet lighting. A clean finish also requires the proper wire connections to be made just as securely as with a wall sconce.
Next, cut a hole in the gasket to fit your wires and route them through both the gasket and the bracket opening. This step maintains proper wiring clearance and creates a weather-resistant seal. Secure the bracket with the included screws, initially tightening them loosely. After confirming that the mounting position lines up with your fixture holes, tighten the screws firmly. Keep the posts level during tightening but avoid over-tightening the plastic parts, as this can cause damage. A secure yet not overly tight fit is sufficient for a stable installation. Before finalizing, wrap the ground wire around the ground screw to establish a secure grounding connection.
Connect the Ground, Neutral, and Hot Wires
Start by connecting the fixture’s white neutral wire to the home’s white neutral wire. Keep these neutral wires separate from the hot wires to prevent shorts. Next, connect the fixture’s black hot wire to the home’s black or brown hot wire. Before proceeding, ensure the ceiling fan mounting bracket is securely attached to the electrical box to support the new fixture. Ensuring a secure connection is critical—use wire nuts or the connectors supplied with the fixture. After connecting, give each wire nut a gentle tug to confirm it is firmly attached. Minimize exposed copper and verify that the insulation remains intact up to each connector. If the wire colors or terminal labels don’t match, consult an electrician before proceeding. Additionally, for safety, always bond the metal junction box to the house ground wire if the box is metal. If connectivity issues arise later, performing a factory reset procedure can resolve pairing failures. Before wiring, remove the ceiling fan blades to prevent them from obstructing access to the junction box.
Hang the Light and Secure It With Cap Nuts
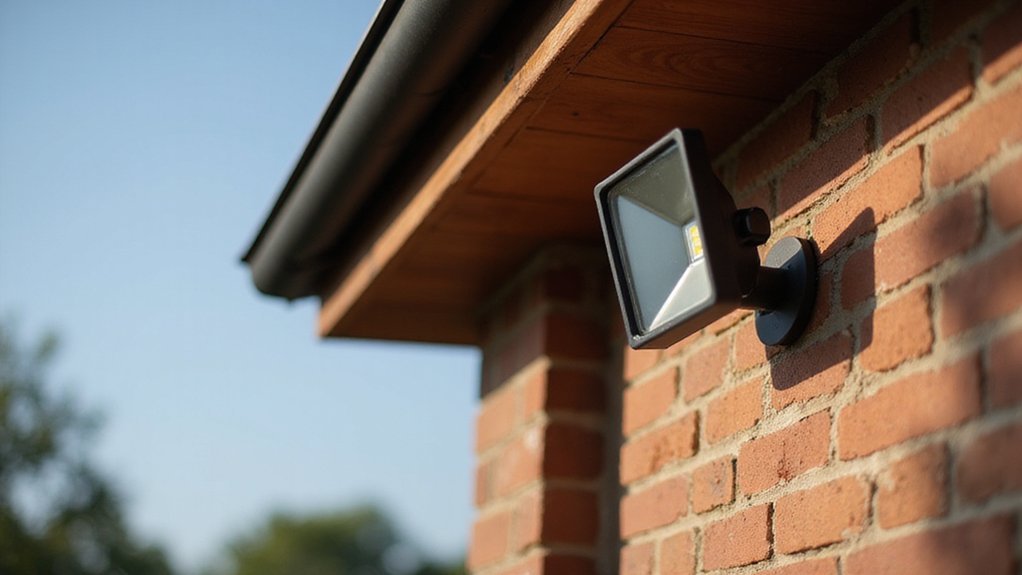
After connecting the wires and securing each connection, hang the light by using the provided hook to suspend the fixture from the mounting bracket. Keep the wiring area accessible to ensure you can make any final adjustments. Next, align the fixture by sliding the Floodlight Cam onto the mounting posts, pressing firmly until the posts fully seat through the housing. For wire management, tuck all cables behind the fixture, making sure no conductors are pinched against the posts. Thread the cap nuts onto the exposed posts and hand-tighten to start. Use the Ring screwdriver to tighten the nuts until they are snug, but avoid overtightening which could damage the fixture or interfere with alignment. Check that the fixture sits flush and evenly, and confirm that you can still aim the camera and lights after mounting. You should also adjust the mounting posts to a 45-degree angle toward the desired camera facing direction before sliding the fixture on. Once all steps are complete and secure, your light is properly hung and ready for use. To ensure long-term reliability, keep the fixture’s heat dissipation unobstructed, as excess heat is a primary factor that shortens the lifespan of LED components. Choose a location with adequate ventilation to further protect the LED components from heat buildup. For a similar outdoor lighting project, you may also consider waterproof recessed lights for areas needing protection from moisture.
Restore Power and Test the Light
Once power is restored, turn on the circuit breaker or wall switch controlling the floodlight circuit. If the breaker trips, switch it fully off for about 30 seconds, then back on. This power cycle clears temporary faults and reboots your wired unit. After power is restored, the lights should turn on automatically as part of setup mode. Allow approximately 1 to 5 minutes for the device to reboot and reconnect.
Check for normal startup behavior: the unit typically speaks and its indicator lights flash or pulse during boot. If it remains dark, the circuit may still be open. Use a multimeter to verify you’re receiving roughly 120V AC at the wiring connection. If the lights turn on but stay unresponsive, perform another breaker power cycle. If the floodlight still does not respond, inspect wiring connections for looseness, water intrusion, or a faulty LED driver. Verify the LED driver output measures between 27 and 36 volts DC, as a low reading confirms the driver has failed and requires replacement. If you decide to replace the fixture instead, consider that wafer lights offer a longer lifespan and lower running cost compared to older can light designs.
If the lights appear to flicker during startup rather than staying dark, this often points to a loose neutral wire or an incompatible dimmer switch, both of which can cause intermittent power delivery that mimics a driver failure.
Set Up the Ring Flood Light in the App
To set up your Ring Flood Light in the app, start by downloading the Ring app from the App Store for iOS devices or the Google Play Store for Android devices. If you already have a Ring account, simply log in; otherwise, create a new account. After signing in, tap Set Up a Device on the home screen, then select Security Cams from the options. The app will prompt you to scan the QR code located on your floodlight or its packaging, which links the device to your account and verifies device connectivity. Following the scan, follow the on-screen instructions to assign a name to your floodlight, specify its location, and connect it to your Wi-Fi network by entering your Wi-Fi password. You may need to grant specific permissions or wait briefly for a firmware update. Once connected, the app completes the setup process and displays the floodlight on your dashboard, ready for control. During this phase, you can also optionally share access to the device with a family member by entering their email and sending an invitation, which is part of sharing device management.
Adjust the Motion Zones and Light Sensitivity
To fine-tune your floodlight’s motion zones and light sensitivity, start by heading to the Motion Settings in the Ring app. Drag the on-screen handles to shape each motion zone, focusing activation on your driveway or entryway while excluding sidewalks or streets. This helps prevent false triggers caused by passing traffic or nearby pedestrians. Two separate systems handle floodlight activation and motion alerts independently.
Next, adjust the light sensitivity slider. A lower setting prevents the light from activating due to small animals, wind-blown leaves, or even shadows, while a higher sensitivity detects smaller or more distant motion. It’s best to start with a narrow motion zone, then gradually lower the light sensitivity if you experience unwanted triggers. Walk through the area to test the setup and refine the boundary points until the motion detection aligns with your intended coverage. Don’t forget to check Light Settings, including scheduling and duration, to ensure your floodlight works seamlessly day or night.