Having trouble pairing your ceiling fan remote? It can be a bit confusing, especially since different fans use different methods for programming the remote.
Whether your remote uses dip switches or learn-mode pairing, the process is straightforward once you know the steps.
Keep reading to learn how to get your remote set up and ready to control your fan with ease.
Is Your Ceiling Fan Remote Dead or Just Unpaired?
If batteries aren’t the issue, interference might be causing the problem. Electronics like routers, cordless phones, or LED lights can block the radio frequency signal between your remote and ceiling fan. To troubleshoot, stand closer to the fan and test the remote. Also, double-check that the fan has power from the wall switch and that the pull chain isn’t set to “off.” Power interruptions or a tripped breaker can also disconnect the remote from the fan, so turn the breaker off for a minute and then turn it back on to restore the connection. If the remote still fails, you may need to adjust the DIP switches inside the remote and fan to match for proper communication. For a similar pairing issue, resetting the connection often requires the exact same steps as syncing Christmas lights to music. Before attempting any internal adjustments, ensure the power is shut off at the breaker to avoid electrical shock, just as you would when wiring a ceiling fan safely. Note that when choosing replacement bulbs for your fan, BR30 bulbs generally offer a tighter beam angle than BR40 bulbs, which may affect light distribution in the room.
What Type of Remote Do You Have: Dip-Switch, Learn, or Brand-Specific?
To determine which type of remote you have, start by opening the battery compartment. If you see a bank of small switches inside, you have a dip-switch remote. You’ll need to match the switch positions on both the remote and receiver to ensure they can communicate, as there’s no pairing button involved.
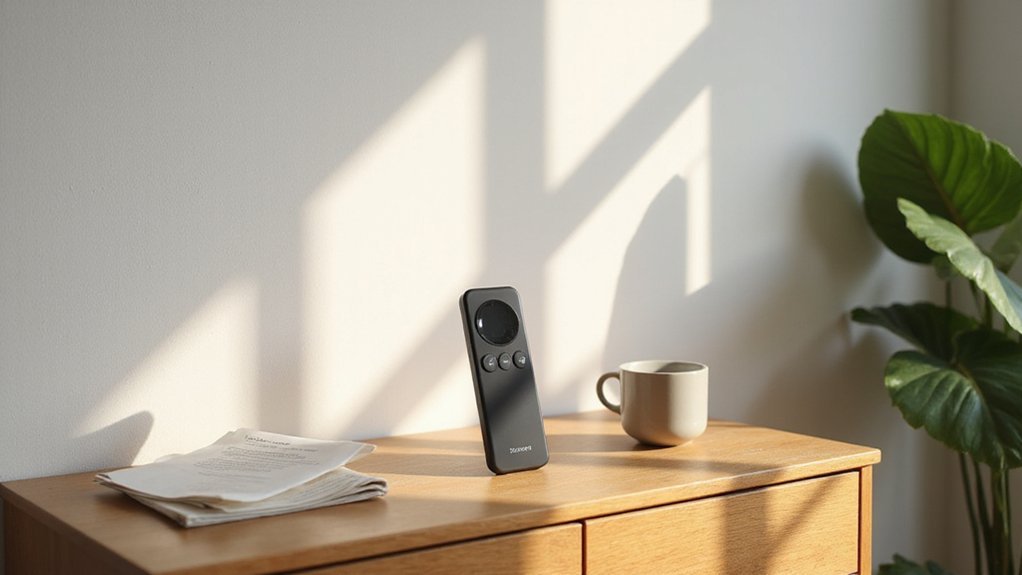
If there are no dip-switches, your system is likely a learn-mode remote. These use electronic pairing, so you’ll press a specific button on the receiver to teach it the remote’s signal. This type often uses radio frequency (RF), meaning line-of-sight isn’t necessary for operation. When choosing a receiver, consider low profile recessed can lights for a sleek installation.
A brand-specific remote matches a model number to a proprietary receiver, limiting compatibility to that manufacturer’s ecosystem. To confirm, check the receiver’s labeling or instructions for a model number or specific details. For a stylish alternative, consider wall sconce candle holders that add ambient lighting to your home.
How to Pair a Learn-Mode Ceiling Fan Remote Step-by-Step
To pair your learn-mode ceiling fan remote, start by turning off the fan at the wall switch or breaker and leave it off for at least 10 seconds. This power cycle resets the fan and opens a short pairing window when you restore power. Make sure the remote’s batteries are fresh and installed correctly, as low or faulty batteries can prevent proper pairing. Next, locate the learn button inside the battery compartment of the remote. Once power is restored to the fan, press and hold the learn button for 3 to 5 seconds within the pairing window, which typically lasts from 30 seconds up to 3 minutes after power returns. If you miss this timing, turn the fan off again to repeat the process. Keep the remote’s rear compartment open during the entire process to ensure the learn button remains accessible for the pairing window. For consistent performance, ensure the fan is mounted at a standard ceiling height to avoid signal interference, and remember that the correct seasonal direction can also affect how you test airflow response after pairing. Always follow safe wiring tips from the installation guide to prevent electrical hazards during setup.
A successful pairing is confirmed by a sound beep, two light blinks, or the fan making a brief quarter turn rotation. After pairing, test all remote functions, including different fan speed settings and the light kit, to ensure everything responds correctly. If the remote does not work, repeat the entire process carefully, paying close attention to the timing and battery placement.
How to Match Dip Switches on Your Fan Remote and Receiver
To match the dip switches on your fan remote and receiver, you need to set them to the same pattern. These small toggles, usually ranging from 4 to 16 switches, must be identical on both the remote and the receiver to ensure proper communication. Begin by locating the dip switches inside the fan’s receiver canopy—usually accessed after turning off the power at the breaker—and inside the remote’s battery compartment. Use a small screwdriver or a pen tip to move each switch to match the pattern of the other device perfectly. Typically, factory defaults have all switches in the up position, so adjust each one accordingly. After setting the switches, reassemble the canopy and replace the battery cover. Turn the power back on and press a button on the remote to verify if the fan responds. If it doesn’t, try different matching patterns until you find the one that works. Using unique switch patterns prevents interference with nearby fans or remotes, ensuring a smooth operation. It is recommended to record the new dip switch configuration before making changes to aid in troubleshooting. For similar safety considerations, ensure the fixture you use is rated for dimmable LED loads to avoid overheating or malfunction. For a similar hands-on electrical project, you might consider learning how to build your own LED strip lights for customized home lighting. Choosing the right wire connector type for any electrical connections in such a project ensures safety and reliable performance.
Pair a Hunter Fan Remote in 3 Minutes
Pairing a Hunter fan remote takes about 3 minutes. Begin by turning off the wall switch or breaker for at least 10 seconds to reset the fan’s receiver. Then, restore the power and start the pairing process immediately within that time frame. Installing a fresh battery in the remote is essential, as a weak one can cause pairing issues. Open the battery compartment and press the pair button, then release it. For some models, hold down FAN and SPEED 3 or FAN and LIGHT for about 4 seconds. You’ll know the pairing succeeded if you hear a beep or see a blinking LED that stays on. The fan may also slow down to low speed during pairing. To avoid interference, power down any nearby Hunter fans. If pairing fails, turn the power off again and try the process once more. New Hunter fans are typically pre-paired from the factory and require no initial setup. For a clean and safe installation, ensure all wire connections are secure and insulated before restoring power to the fan, as improper insulation at the junction box can cause shorts. If the fan wobbles after pairing, check for unbalanced blades that can cause noisy operation.
How to Pair a Kichler Fan Remote: Step-by-Step
To pair your Kichler fan remote, follow one of the three methods based on your control system. For standard airflow-direction pairing, start by turning on the power. Then, press and hold the airflow direction button on the remote. The fan will blink twice or make a quarter turn to confirm that the pairing was successful. This method reestablishes the communication link after a power outage or battery change. For a more permanent outdoor setup, consider weatherproofing your wiring with sealed connectors to prevent corrosion.
If your fan uses an AC motor system, begin by turning off the power at the circuit breaker. Locate the dip switches on both the remote’s receiver and the remote itself. Set both sets of switches to the same positions. Once they match, restore power and test the remote by pressing the fan button to see if it responds.
For models that operate on a 65k frequency, turn off the power for 60 seconds to reset the system. After turning the power back on, press and hold the learn button on the receiver for three to five seconds. The fan should start up at medium speed, indicating that the pairing is complete. Test all fan speeds afterward to ensure full compatibility and smooth operation. For a clean installation, consider using a can light conversion kit to replace the existing housing with a pendant mount.
To prolong the battery life of your remote, keep the antenna wire straight and untangled. Running through all speed options during testing helps confirm proper communication and performance.
Why Power Cycling Matters for Ceiling Fan Remote Pairing
Power cycling is essential for ceiling fan remote pairing because it completely resets the fan’s receiver, clearing any previous connections and interference. To do this effectively, you must fully cut power at the wall switch or circuit breaker — simply pressing the remote buttons won’t do the trick. Wait at least 10 to 60 seconds, depending on your fan model, to allow the electronics to discharge and the receiver to reset. Once power is restored, a short window—usually under three minutes—opens for pairing. During this time, pressing the remote’s pair or learn button often results in a beep or a light flash as confirmation of successful pairing. Without power cycling, the receiver remains locked onto its old signal, making new synchronization nearly impossible. You can also bypass the remote entirely by using a pull chain override if your fan includes that manual control option. This process is similar to canless recessed lighting setup, where a complete power interruption at the breaker is required to reset the driver and clear old pairing data. For a more reliable reset, you should also check the fan’s DIP switches to ensure both the remote and receiver are set to the same code.
Common Ceiling Fan Remote Pairing Problems and Fixes
To re-pair your ceiling fan remote, start by verifying that the dip switches inside the remote and receiver match exactly. Use a small tool, like a flat-head screwdriver or tweezers, to carefully adjust the switches if needed. Loss of synchronization is common after power interruptions, so if your remote stops working, try re-pairing it. Hold down the designated pairing button for 5 to 10 seconds until the fan lights flash, indicating successful synchronization. Keep in mind that pull-chain fans must have the fan speed set to high before the remote can take control. For proper installation, ensure the fan’s mounting position respects clear spacing rules similar to those used for pendant lights over an island.
Your Remote Still Won’t Work? Try These Final Fixes
If your remote still won’t work after re-pairing, start troubleshooting with the simplest fixes. First, replace the batteries with fresh cells, even if the current light seems okay. Check that the batteries are inserted with the correct polarity and inspect the contacts for corrosion or dirt that could interfere with the signal. Next, power-cycle the fan by turning it off at the breaker for about 30 seconds, then restore power. Immediately after restoring power, press and hold the pairing button on the fan until it blinks or beeps, indicating it’s ready to synchronize. Test the remote within a 10 to 20-foot range, making sure there are no furniture pieces blocking the line of sight. If the remote still fails to operate the fan, look for a reset hole on the remote housing, often hidden behind a small cover, and use a pin or paperclip to reset it. You can also try re-seating the receiver connection if accessible, ensuring it’s firmly connected. Do not replace the remote or receiver until you have confirmed power, fresh batteries, correct distance, and proper synchronization. If none of these steps work, contact customer support, as this likely indicates a hardware defect rather than a setup issue.